Introduction and Spoiler Warning
This is a full, in depth-guide to Bloodborne - City of the Unseen, a custom Arkham Horror Card Game campaign by aughhhh. This article discusses potential XP, story paths, secrets, and FULL SPOILERS, so be warned!
Experience
Available XP per scenario/interlude:
Scenario 1: The Hunt Begins: 5 (locations) +1 (Cleric Beast) = 6 XP
Scenario 2: Fear the Old Blood: 4 (rescuing all bystanders) +1 (Fr. Michael Gascoigne) +1 (Sister Amelia) +1 (Church Behemoth, in encounter deck only if Recognition 2+ during setup) = 6/7 XP
Interlude: The Plain Doll: 2 XP if you ask about the Eldritch Truth
Scenario 3: Night Unending: 3 (locations) +3 (1 each from the Agents of Impurity) +1 (Guiding Moonlight, in the encounter deck only if Recognition 5+ during setup) +1 or 2 (Metamorphosis enemy in the encounter set, only if Recognition 6+ during setup) = 6-9 XP
Scenario 4: The Frailty of Men: 1 (locations) +8 (memories) +2 (Rom) +1 or 2 (Metamorphosis enemy in the encounter deck only if Recognition 7+ during setup) = 11-13 XP
Scenario 5: The Altar of Despair: 4 (locations) +1 (Dr. Hamatani) +2 (The Altar of Despair or Ebrietas) +1 (Church Behemoth, in the encounter deck) = 8 XP
Scenario 6: A Call Beyond: 5 (locations) + 2 (Milkweed enemy in the encounter deck, only if recognition 13+ at setup) = 5-7 XP
Scenario 7: Communion: 4 (locations) +1 (act 2 encounter deck addition) +2 or 3 (final enemy of the scenario) +2 (Milkweed enemy in the encounter deck, only if recognition 15+ at setup) = 7-10 XP
Scenario 8: Arkham Sunrise: 3 (locations) +1 (Gehrman) +3 (Moon Presence) +1 (Guiding Moonlight, in the encounter deck) = 8 XP
Scenario 8: Blood Rapture: 4 (locations) +1 (Gehrman) +1 (Cimmerian Elder) = 6 XP
The total amount of XP by the end of scenario 7 is 62 XP. 10 potential XP comes from bonus enemies which can be difficult to defeat, and have recognition requirements. Even without that, I'd expect 35-40 XP or so by the final scenario, and more if players are pushing for it.
Of quick notes, the Metamorphosis encounter set is composed of four cards - three of which are worth 1 Victory, and one of which is worth 2 Victory. When killed, the card is permanently removed from the set. You can put one enemy from the set in the encounter deck in Scenario 3, and another in Scenario 4 - so the max you can get out of both of these is 3 XP
Campaign Breakdown
Guidance Assets
In the first scenario, you're given a choice of 6 different assets that enter your deck for the rest of the campaign. You also get to start the first scenario with them in play!
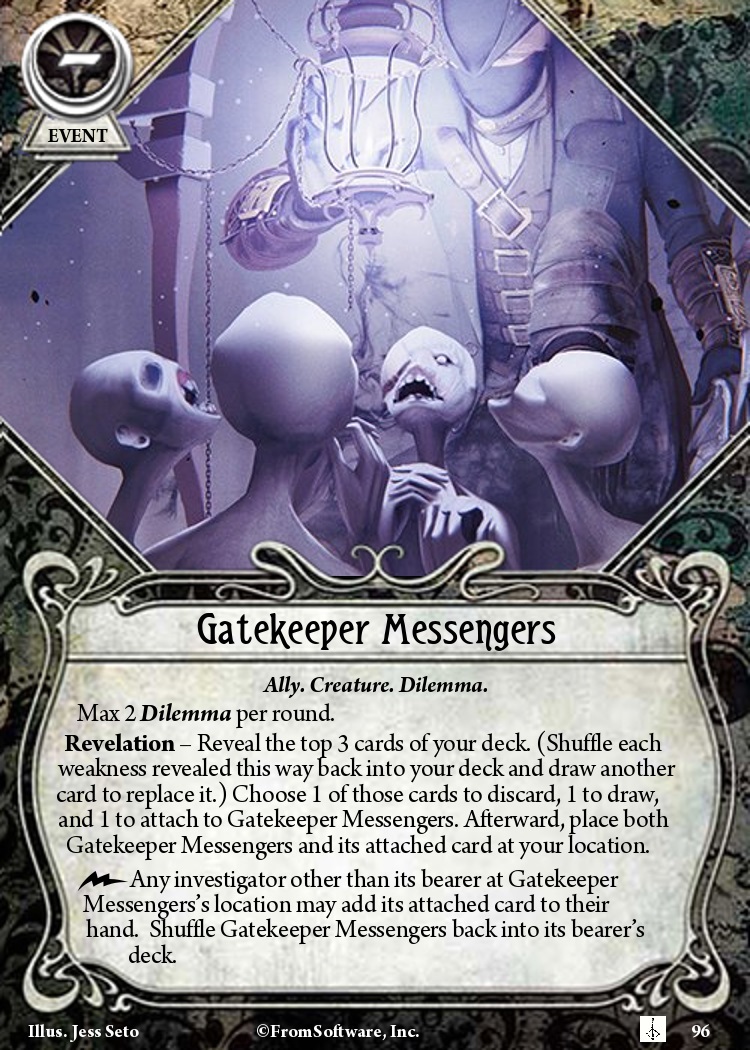
Gatekeeper Messengers is a weird choice with a lot of potential but not a lot of control. It's like a free Eureka when drawn, but also tosses a card in your discard - great if you have recursion. Its main feature is to hand out your cards, mostly at random, to other characters. Unfortunately, it's hard to specifically build around it because you don't know what cards will trigger it. It might work best on characters who have lots of generically good cards they're happy to hand out, and recur from their discard - Bob Jenkins and William Yorick, as an example.
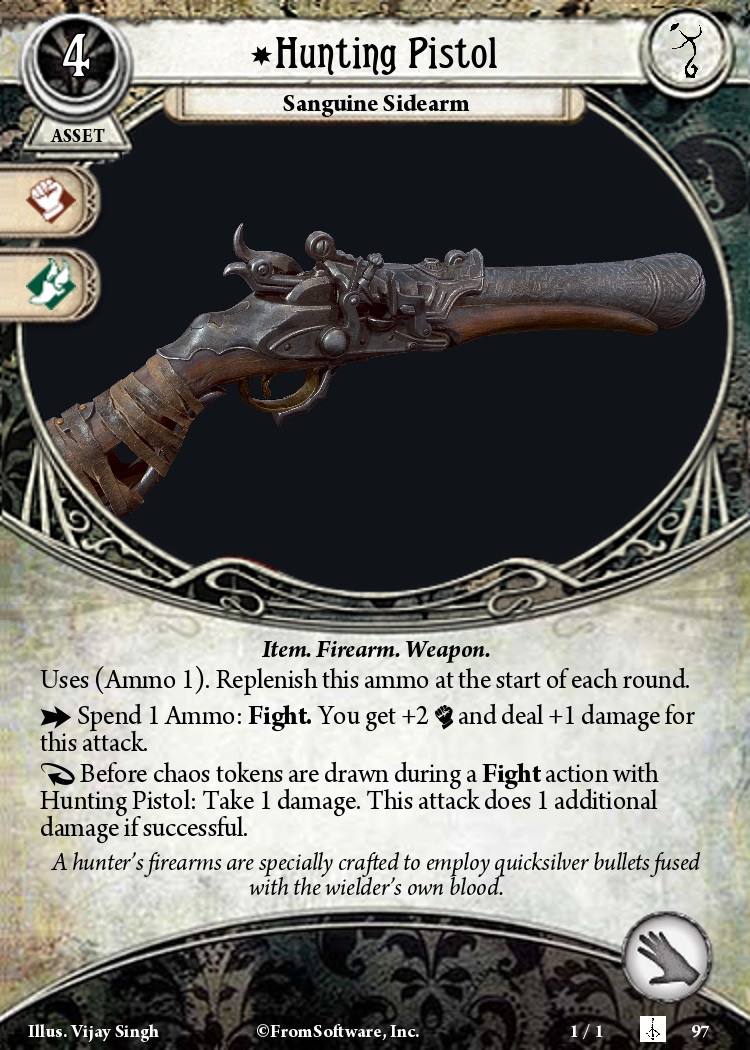
Hunting Pistol is an amazing weapon to have on-hand. While it only has one shot per turn, it can deal 3 damage, and allows a character focused on one handed firearms to have something to deal with most enemies. It also makes a great target for cards like Custom Ammunition and Custom Modifications, giving you an amazing weapon for turn-to-turn fighting.
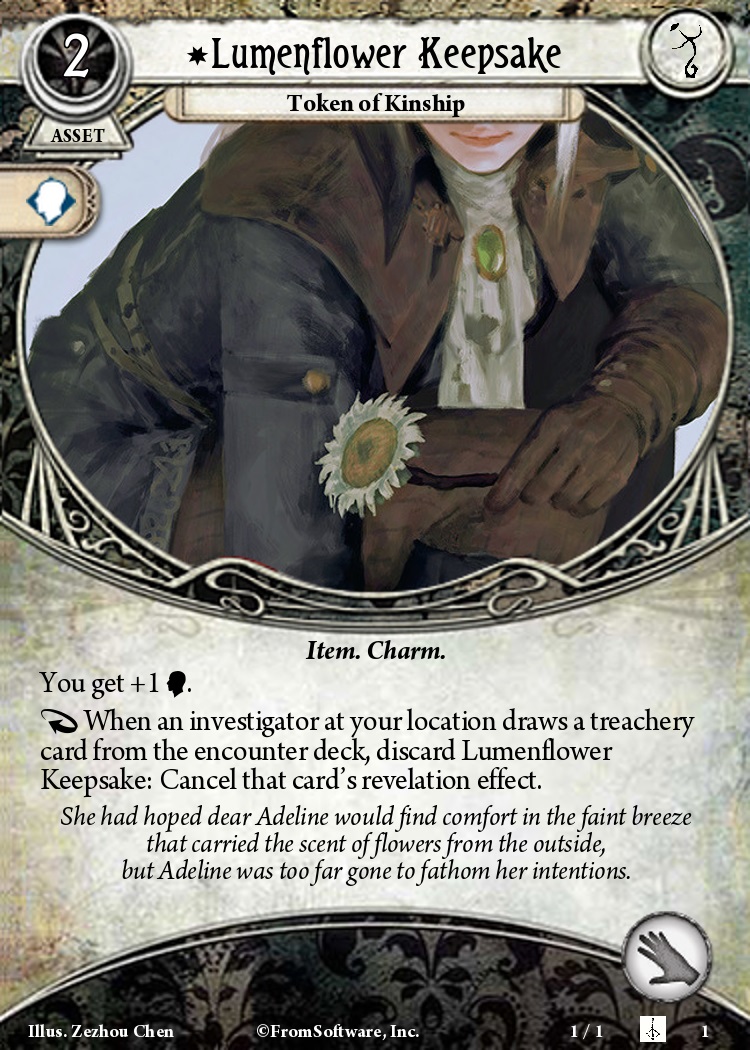
Lumenflower Keepsake is a hand slot item that gives +1 Willpower, which has a lot of appeal to mystics. You can use it to cancel a treachery, but doing so ends up being a bit wasteful - it's much slower, more expensive, and slot intensive than other cancels. As such, the cancel should be seen as an emergency action rather than a thing you're relying on. This choice also helps unlock the Lady Maria path in Scenario 7.
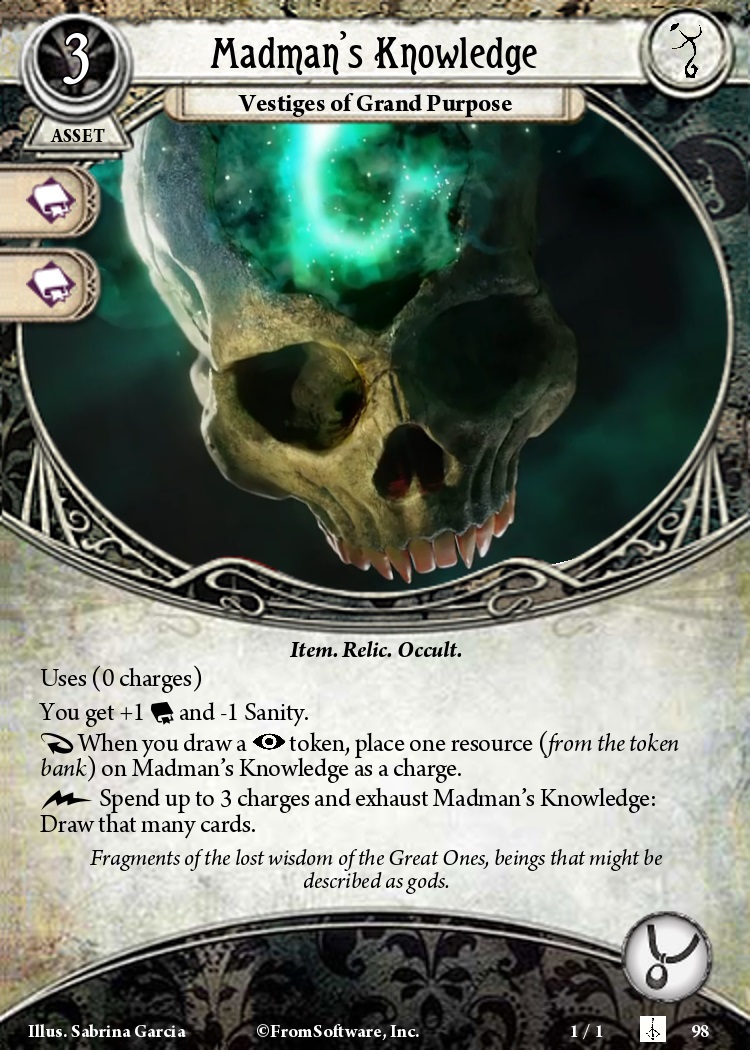
Madman's Knowledge as an accessory that provides an Intellect boost is of interest to Seekers, especially if they're running big hand style. Mystics with token selection might also like its heavy card draw for them, but the accessory slot is a big ask. It's also worth noting it can be combined with Eldritch Sophist as a charge battery, so has good potential there. This choice also helps unlock the Brain of Mensis path in Scenario 7.
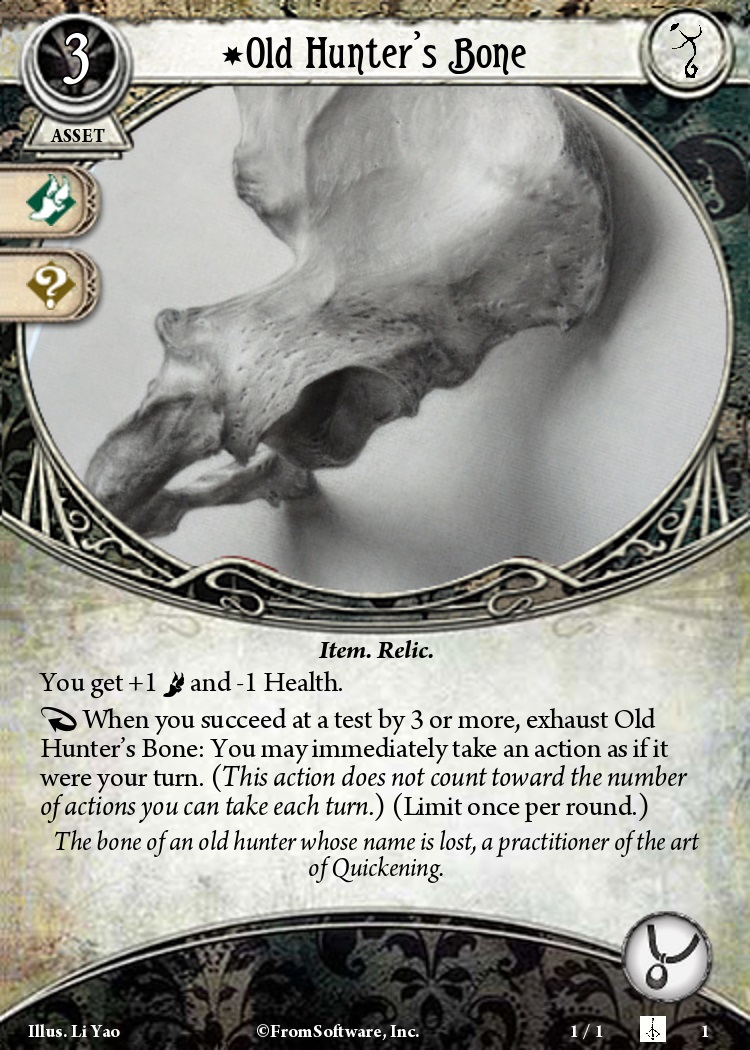
Old Hunter's Bone is powerful but awkward. The Agility bonus and extra action for oversuccess is appealing to rogues, but it takes up an accessory slot and so competes with the Lucky Cigarette Case. Guardians who pump their Combat will enjoy the extra action - especially if they can do something after enemies are dead - but don't care about the agility as much. It's surprisingly not a bad choice for many Seekers, who have to worry about the health loss, but can boost their Intellect to oversucceed easily, and might appreciate the Agility for evading enemies. This choice also helps unlock the Lady Maria path in Scenario 7.
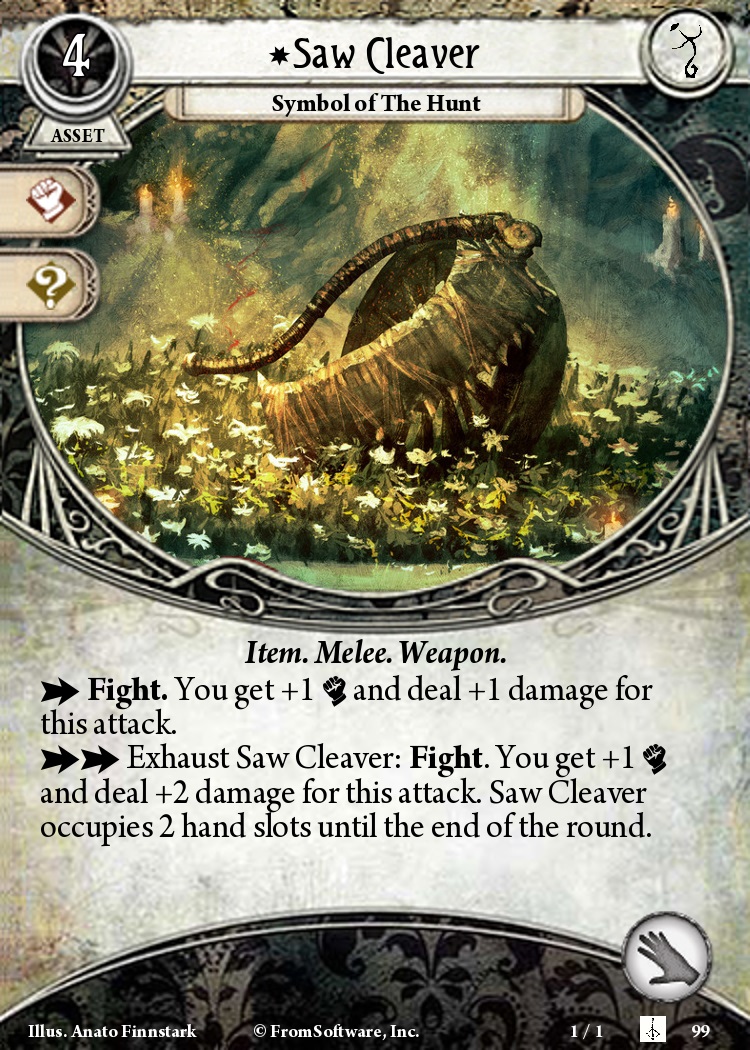
Saw Cleaver is a bit more boring looking compared to some of the other options, but still has its use - especially in the hands of Survivors, who have to pay up to the Fire Extinguisher (3) to get such a reliable weapon. It's double action effect isn't particularly impressive, but might make sense if you've got one Overpower to commit against a 3 health enemy.
The Hunter Allies
After completing the first scenario, you'll be introduced to six hunter allies. Each investigator can add one to their deck. They're powerful, with unique effects, and are worth incorporating as part of your strategy. Each gives +1 to two different stats, with each stat combination represented by a different ally. You'll have to be careful, however - they can be killed by story events (including random ones!), so can't be fully relied on.
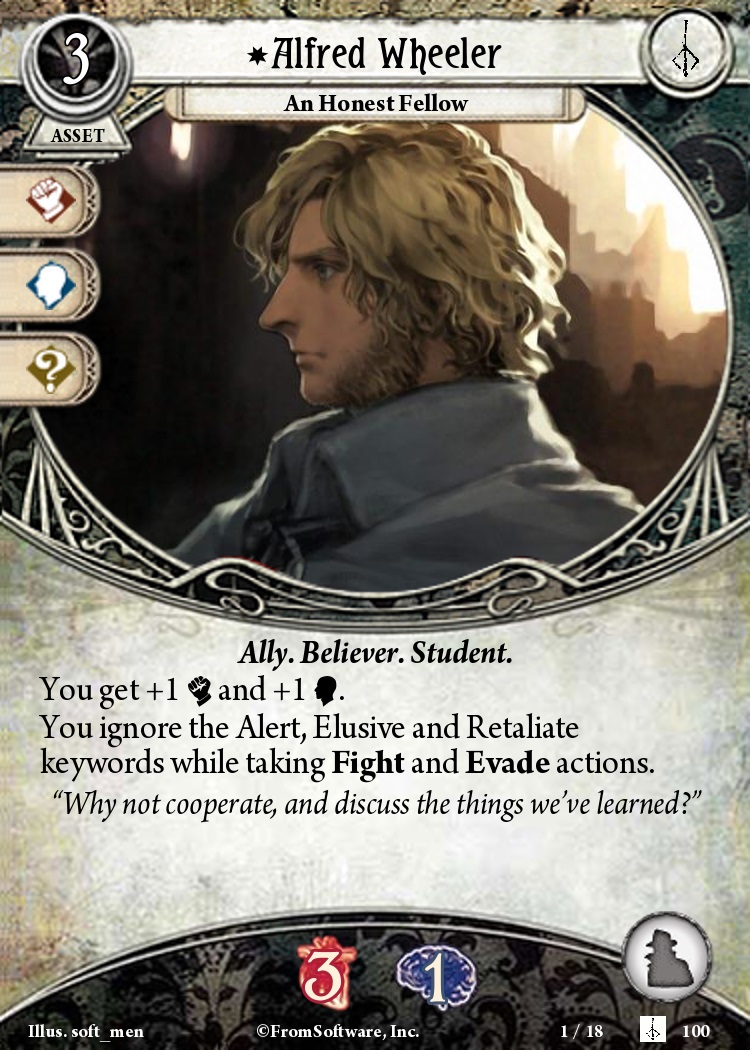
As the allies go, Alfred isn't terribly flashy. His Combat and Willpower bonus are reliable, and while ignoring Reliate is good, the extra combat does make it less likely to come up. Sitll, he's a strong option for a wide variety of Combat focused characters who wouldn't mind the extra willpower boost - and for the ones that have bad Agility to start with, he provides extra Health soak.

Djura's Combat and Intellect bonuses don't seem like they'd have a wide range of users to start with, but there's a number of 3 Intellect investigators who can find his bonus just enough to really let them go after low shroud locations - characters like Leo Anderson, Tommy Muldoon, Tony Morgan, and Bob Jenkins will really appreciate him. They'll also appreciate his Evade ability, which lets them exhaust an Elite enemy they might have to kill over two turns.
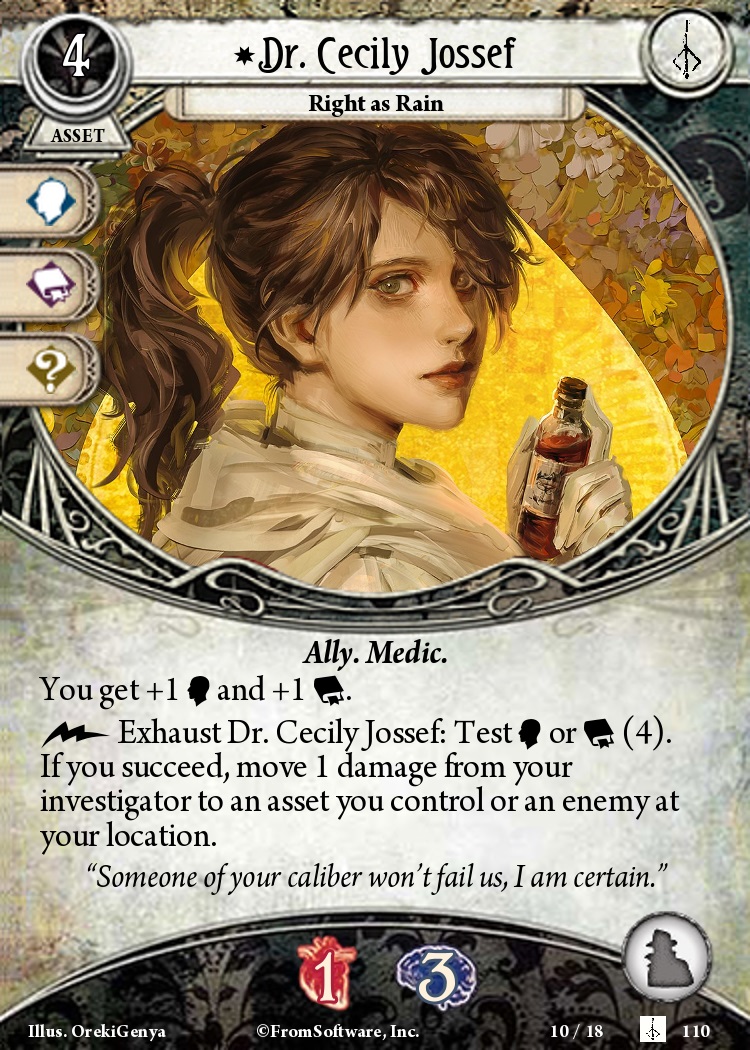
There's a number of Seekers and Mystics who really, really like Cecily. Not a lot needs to be said about a Willpower and Intellect boost, but her power is also amazing for characters who already have 5 in those stats, giving a constant source of healing and drip damage against enemies.
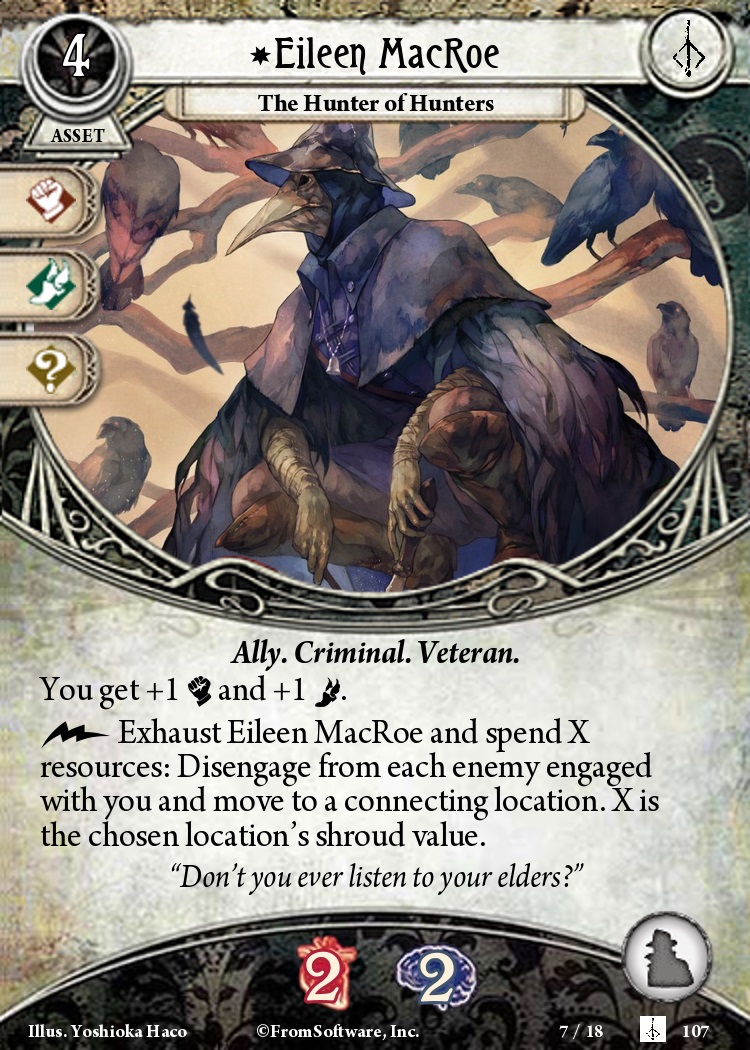
Eileen is an odd one, as her power can be used to avoid enemies, but her Combat bonus is attractive to those who just want to kill them. Her stats work great for a Dirty Fighting using character, but her power is largely unnecessary for anyone who wants to evade. Her power can be used without any enemies, although it can end up a very expensive fast movement. It does allow you to dodge away from hunter enemies at least, and with the number of foes to fight in the campaign, having a little emergency button is nice.
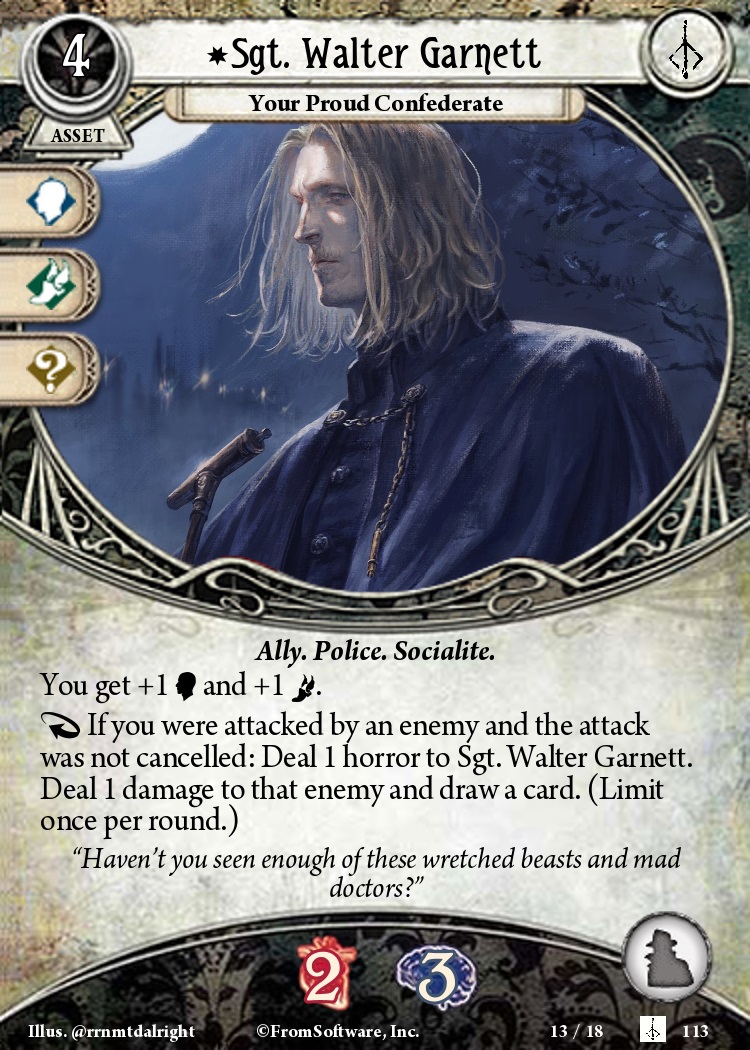
With Willpower and Agility, Walter is a strong defensive option for mystics who just don't care about their other stats in the slightest. His ability is hard to leverage - taking extra horror as you're getting hit certainly isn't something anyone wants - but has some real build around potential, albeit usually with characters who don't care about his stat boost. Tommy Muldoon and Carolyn Fern in particular have builds that enjoy being hit, and can use Walter again and again. It's also worth considering the use of Walter drawing cards when you're getting disposable allies killed - there are some allies in both mystic and seeker who are meant to die, and so provide a good source of soak.
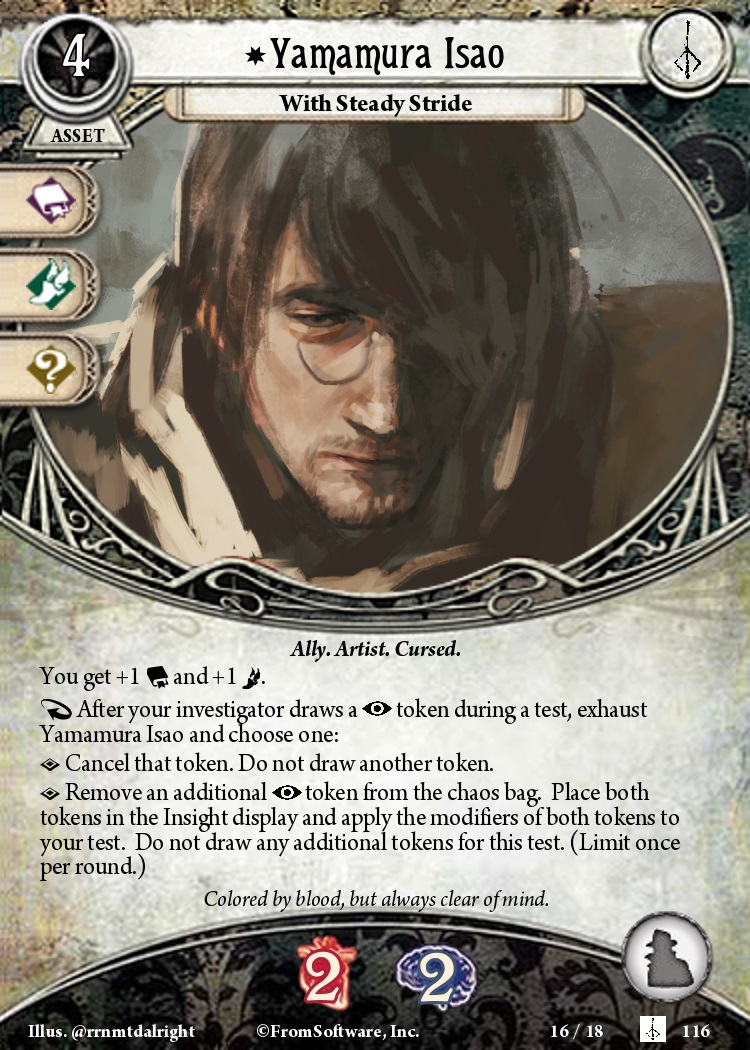
With Intellect and Agility, Yamamura is an immediate friend for the number of Seekers who prefer to run from problems or the number of Rogues who are focused on clues. His power is one of the most generally strong ones as well. Being able to turn Insight tokens into 0s or +2s is huge, and he can equally help you get lots of recognition or try to avoid it. It's a good enough effect that anyone can consider Yamamura, especially Mystics who are already running token-draw abilities.
Interlude: The Plain Doll
Between scenarios 2 and 3, you'll have an interlude with the Plain Doll. There, you get to ask her 3 questions (or 4, if all bystanders in the previous scenario were killed). The questions and their effects are as follows:
What has happened to Arkham? places an insight token in the insight display at the start of each scenario, allowing you to gather Recognition faster. This also helps unlock the Brain of Mensis path in Scenario 7.
What is The Hunt? lowers the Recognition requirement to place Metamorphosis and Milkweed encounter sets in the deck by 1, which allows you to add more difficult, experience-granting monsters into the encounter deck. This also helps unlock the Lady Maria path in Scenario 7.
Did Gehrman send you to help us? lets you swap the Guidance you received in scenario 1 for a different one. This also helps unlock the Lady Maria path in Scenario 7.
Why do you call us Hunters? allows you to place two cards from the Hunters of Yharnam encounter set instead of 1 for scenarios 3-7, making them a bit more difficult, but giving 5 more chances at the spoils loot. This also helps unlock the Lady Maria path in Scenario 7.
What is The Blood Healing Church? lets any one investigator heal a trauma.
What are Beasts? allows you to remove a non-elite enemy of your choice from the encounter deck of each scenario.
What's all this about 'channeling an Eldritch Truth?' lowers your Recognition by 1, but gives everyone 2 bonus experience.
Has this all happened before? allows anyone who has completed the Bloodborne: City of the Unseen Campaign before to take a Spoils card they had previously earned and put it in their deck now. This is the only way to pick out a specific Spoils!
Is any of this real? allows any one investigator to take a mental trauma to swap their current basic weakness for one of two random weaknesses.
Communion Story Paths
Scenario 7, Communion, has 3 different paths to take, with 3 different boss fights and rewards. Which paths you're able to take, however, depend on what you've done. You must achieve one of the two advanced paths in order to unlock the alternate final scenario.
The path leading to Mergo's Wet Nurse is open regardless of what happens - and if you have Recognition of 12 or lower, it's the only path you can take.
The path leading to The Bottomless Curse, where you fight lady Maria, requires 12 points from the list below:
- +2 for having "A Dream of the Beginning", based on your investigator
- +1 for having "A Dream of Yearning", based on your investigator
- +1 if you chose the Lumenflower Keepsake or Old Hunter's Bone story asset from scenario 1
- +1 if you ask the Plain Doll "Why do you call us Hunters" in Interlude 1
- +1 if you ask the Plain Doll "What is The Hunt?"
- +1 if you ask the Plain Doll "Did Gerham send you to help us?"
- +3 if you acquired the Orphan's Cord of the Eye from the faculty office location in Scenario 4
- +2 if you acquired any other Cord of the Eyes
- +5 if you recorded 4 Byrgenwerth Mysteries during scenario 4
- +1 if you have the Wild Curiosity story weakness, received after Scenario 4
- +2 if you have the Bottomless Curse story weakness, received after Scenario 4
- +3 if you killed Ebrietas in Scenario 5
- +1 if you completed Scenario 5 by putting offerings on the Altar of Despair
If you're pursuing the Cord of Eyes and have killed Ebrietas, that gives you 8 of the 12 required points to start. Doing well in Scenario 4 gives you five more, allowing you to pursue this path. If you miss it, you'll need to have asked the right questions to the doll and have the right investigator to gaurentee success - although in a four person group, you're gaurenteed to have the weaknesses, and then only need one additional point.
The path leading to the Mensis Ritual, leading to fighting The Brain of Mensis, requires 12 points from the list below:
- +2 for having "A Dream of Adventure", based on your investigator
- +1 for having "A Dream of Starlight", based on your investigator
- +1 if you chose the Madman's Knowledge story asset from the Guidances at scenario 1
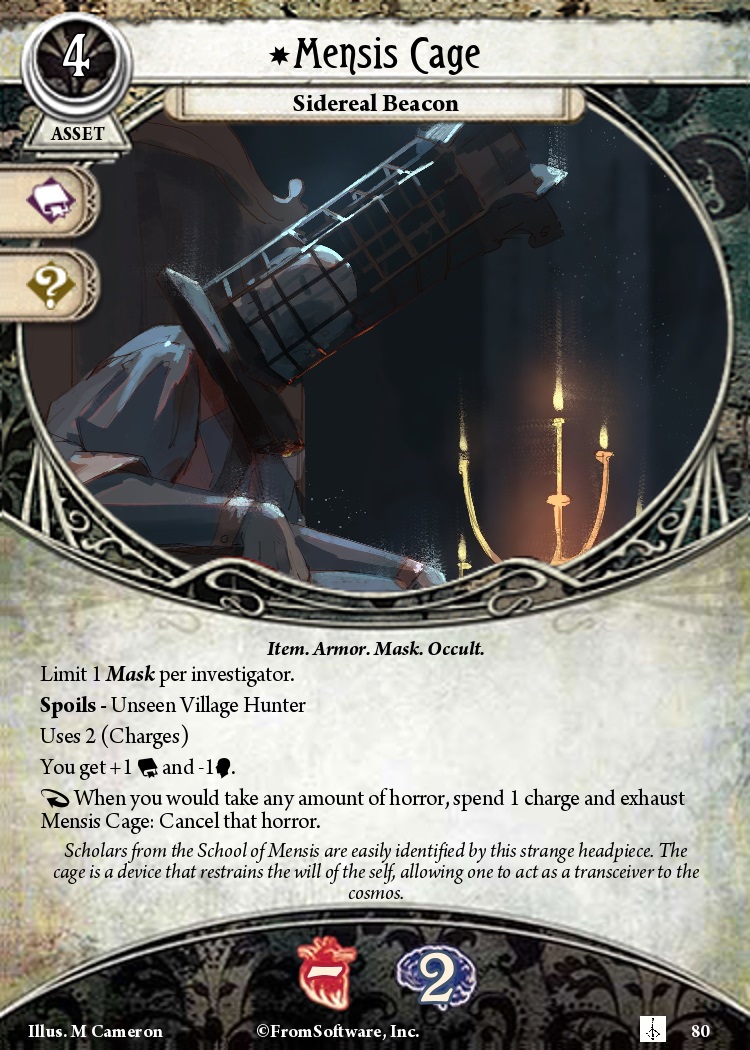
- +1 if you acquired the Mensis Cage story asset as a spoils from the Hunters of Yharnam enemies
- +1 if you asked the Plain Doll "What happened to Arkham?" during the interlude
- +2 if you unmasked the last scholar in scenario 4. This can be done by succeeding at Scenario 3, and then attempting to speak to the scholar while Dr. Cecily Jossef is still alive or while you are an investigator with the Miskatonic trait (or are Ursula Downs, Kohaku Narukami, or Monterey Jack)
- +1 if you added any Cord of the Eye story assets to your deck
- +1 if you recovered Professor Ashley's personal correspondence from the Faculty office location in scenario 4
- +5 if you recorded 4 Miskatonic Mysteries in scenario 4
- +1 if you have the Rapturous Writhing story weakness, received after Scenario 4
- +2 if in scenario 5 you resign, are defeated, or succeed through putting offerings of the Altar of Despair
- +1 if you successfully complete Scenario 5 and take the Augur of Ebrietas
- +3 if you successfully completed Scenario 5 and took the Augur of Ebrietas, then successfully completed scenario 6
If you're pursuing the final scenario, successfully competing scenarios 5 and 6 are a requirement for that as well, and will get you four points. The required Cord of Eye will make it five. Thenext easiest will be from doing well in Scenario 4, with six more points acquired there - leaving a variety of choices for your last point, with unmasking the scholar also being convient if Cecily is still alive.
Opening the gates
The final scenario has two versions - Arkham Sunrise, the default, and Blood Rapture, which needs to be unlocked through some difficult means. In order to unlock Blood Rapture, all of the following must be done:
- At least 18 Recognition
- Recover Professor Ashley's personal correspondence from a location in scenario 4
- Obtain three of the four Cord of Eyes story assets - see the next section below on how to get them
- Obtain the Augur of Ebrietas after successfully completing Scenario 5
- Protect Ariana Kuttner in Scenario 2, and succeed or resigned in the scenario.
- Successfully complete Scenario 6.
- Unlock one of the two optional endings of Scenario 7 - The Bottomless Curse or the Mensis Ritual - and complete it.
The short of it is this is mortly just doing well, completing scenarios and never losing. The hardest part is going to be gaureneteeing that high recognition, although the Cord of Eyes help with that.
The Cords of Eyes
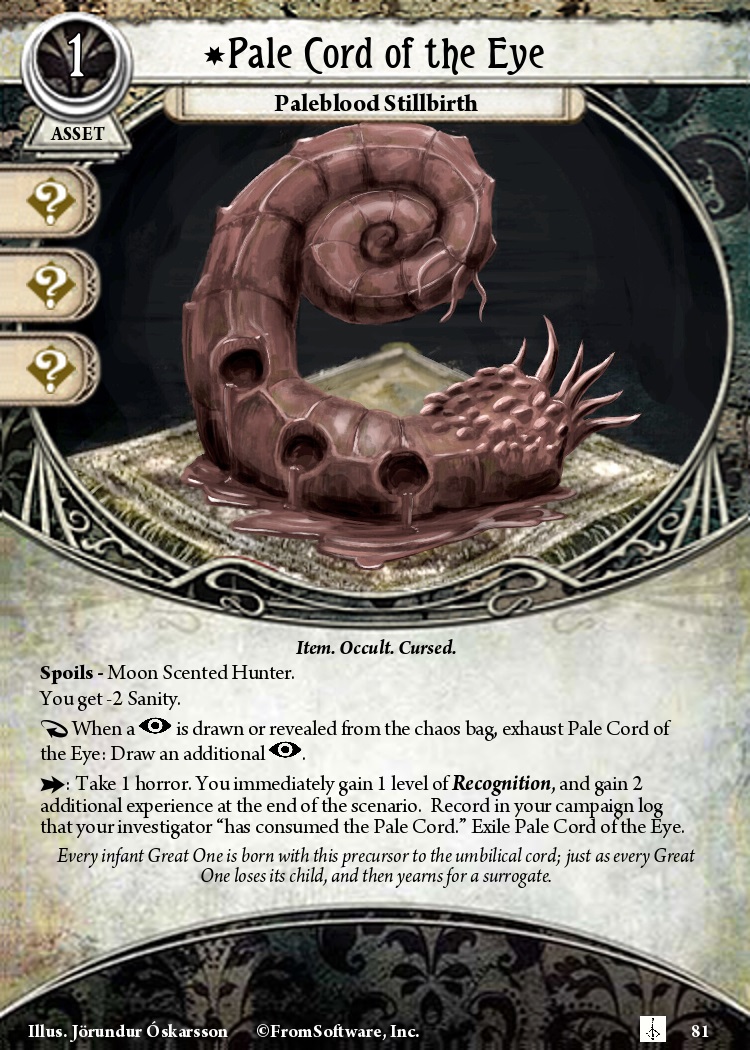
Four cord of eye items can be found, three of which are required to unlock the final scenario. Each have the same mechanics, lowering your sanity when played, but allowing you to draw additional insight tokens when you draw one during a test - or allow you to consume them for immediate Recognition and hexperience. They can be found as follows:
- The Pale Cord of the Eye can be found as a spoils from the Moon Scented Hunter. Finding them is random, but asking the doll "Why do you call us hunters?" in the Interlude can help
- In scenario 4, the Orphan Cord of Eyes can be found at the Faculty Office location
- The Bloody Cord of the Eye can be found after Scenario 5, if you successfully rescued Ariana Kuttner in Scenario 2
- The Formless Cord of the Eye can be found at the Mergo's Loft location in Scenario 7.
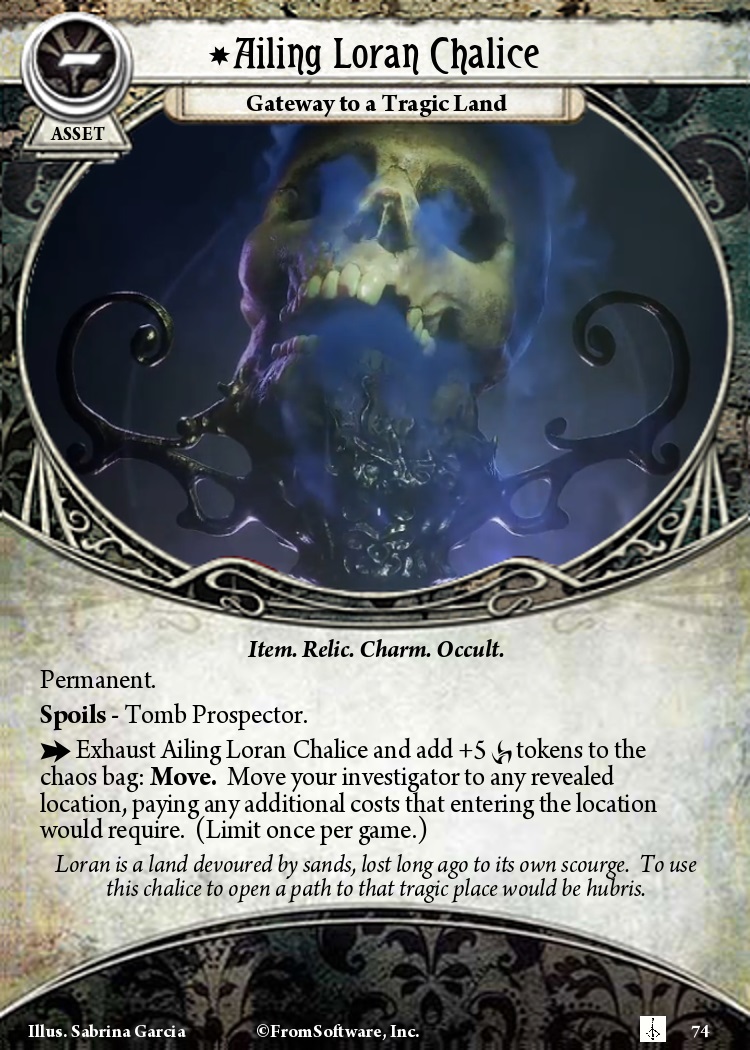
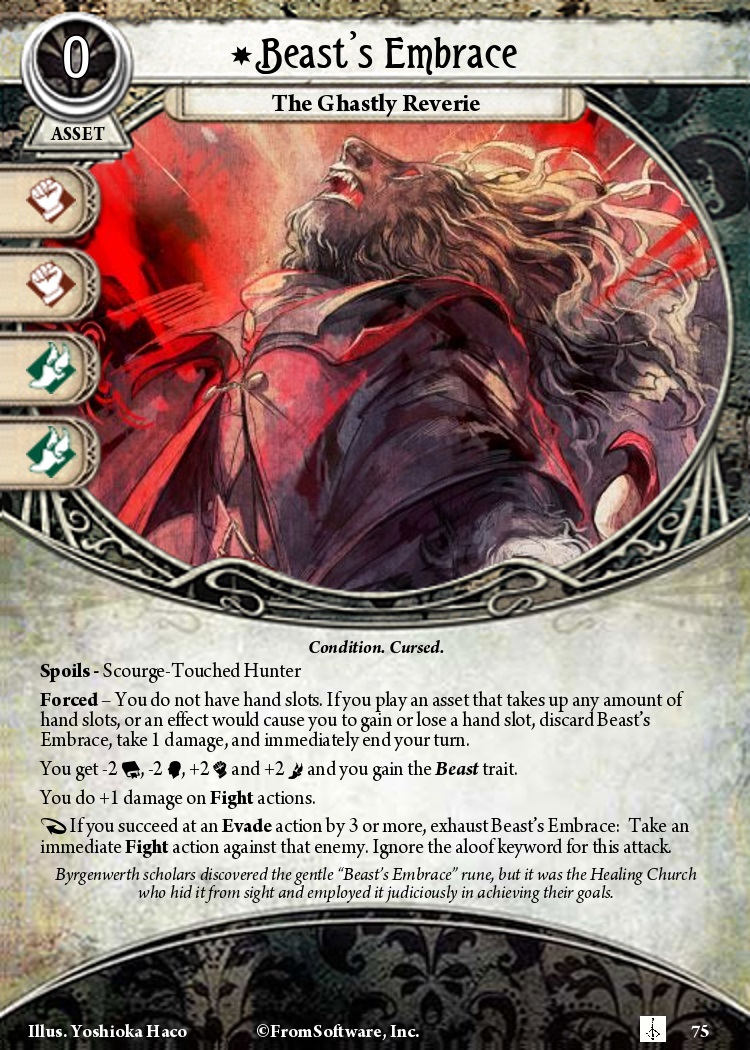
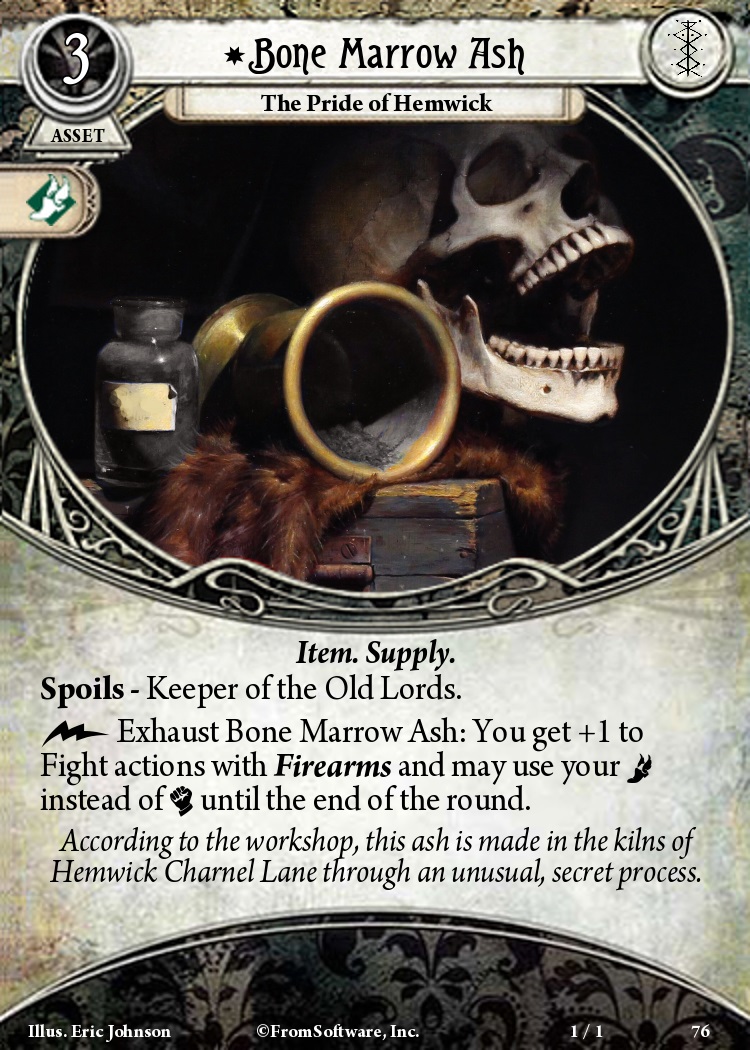
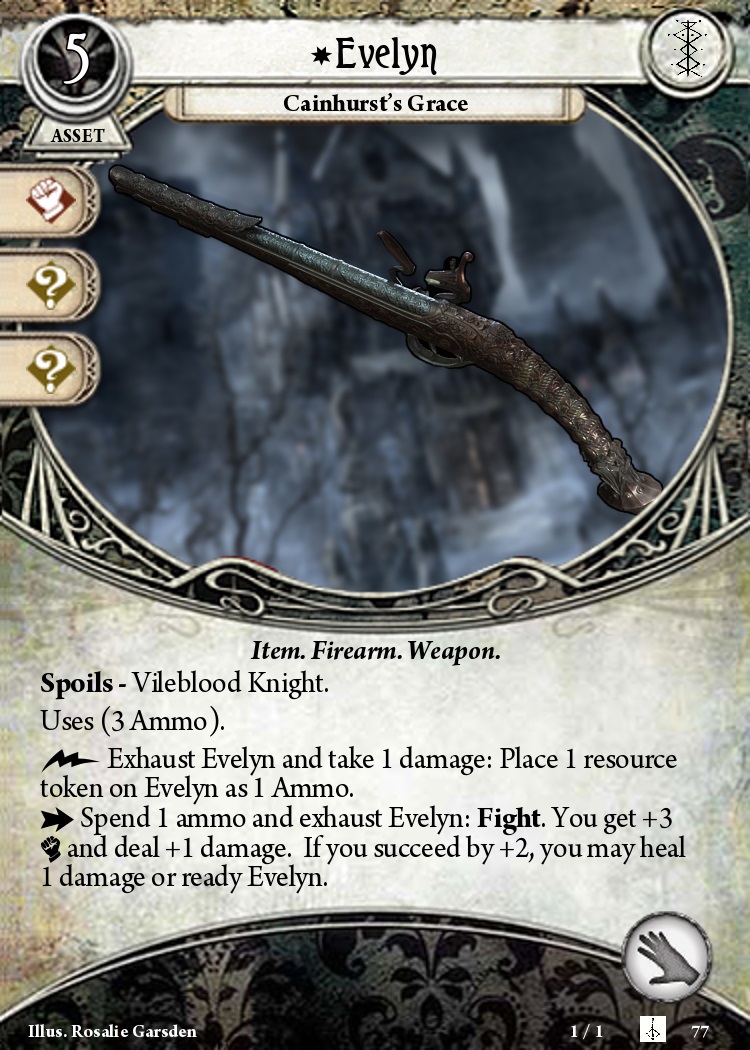
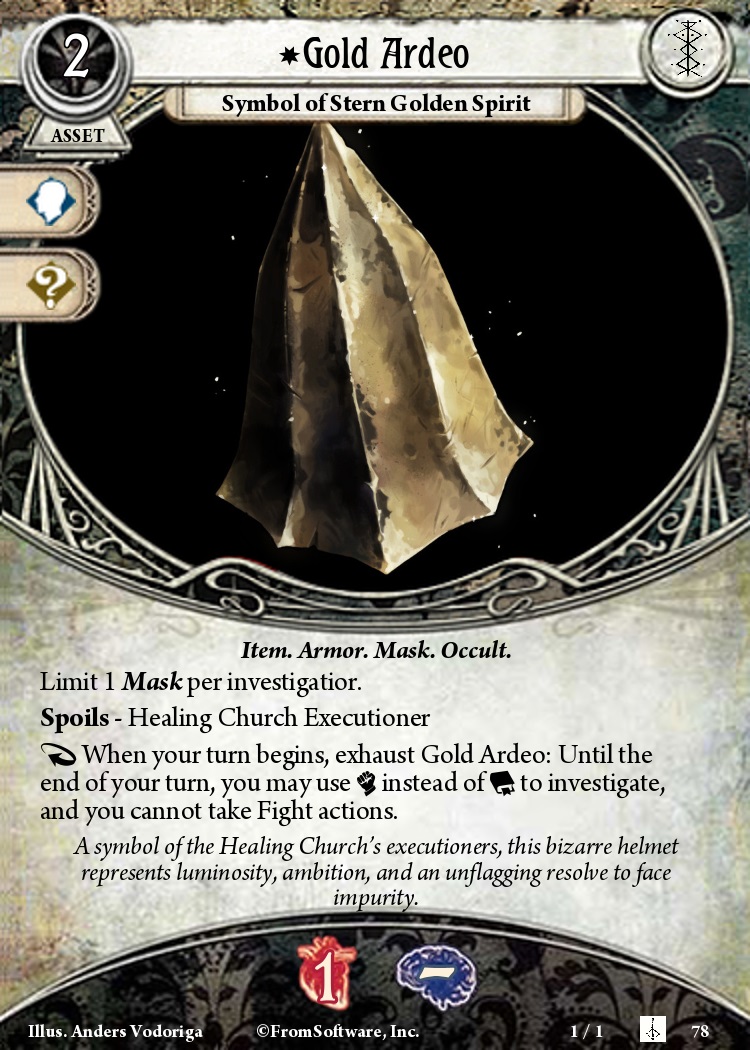
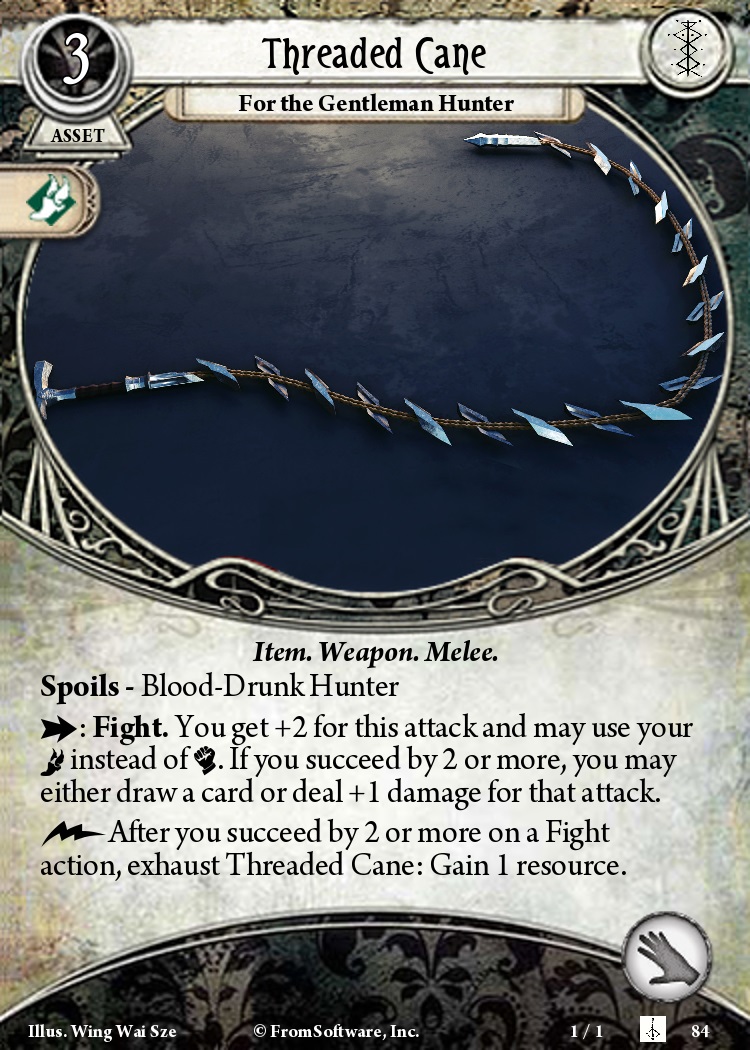
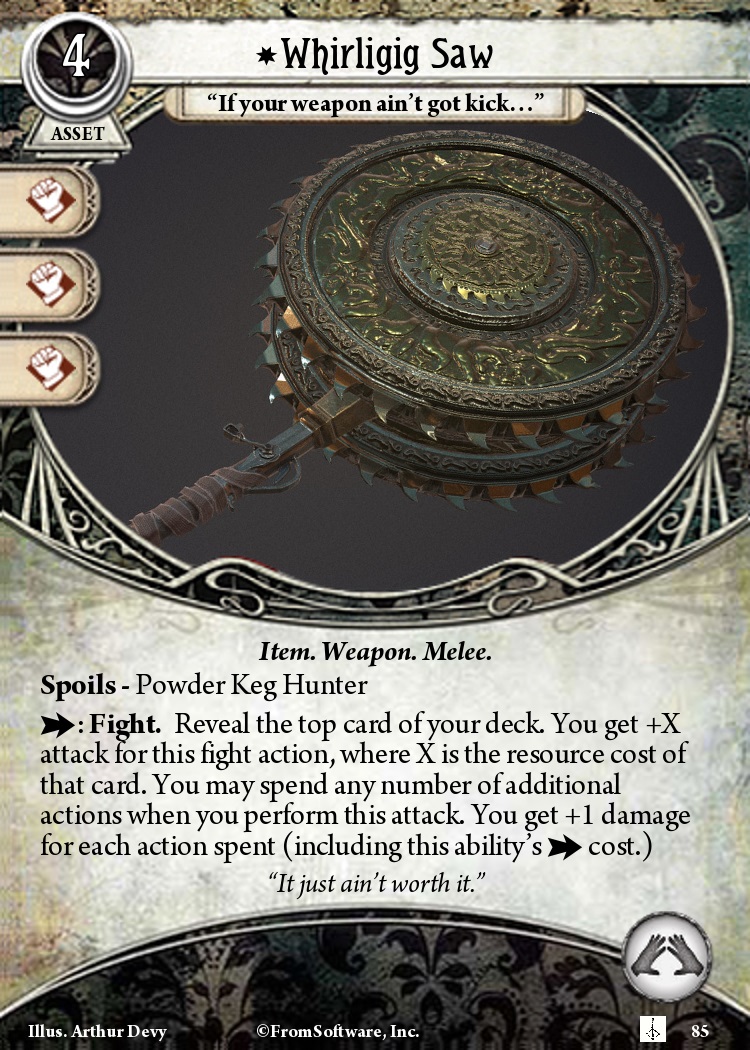
Hunter Spoils
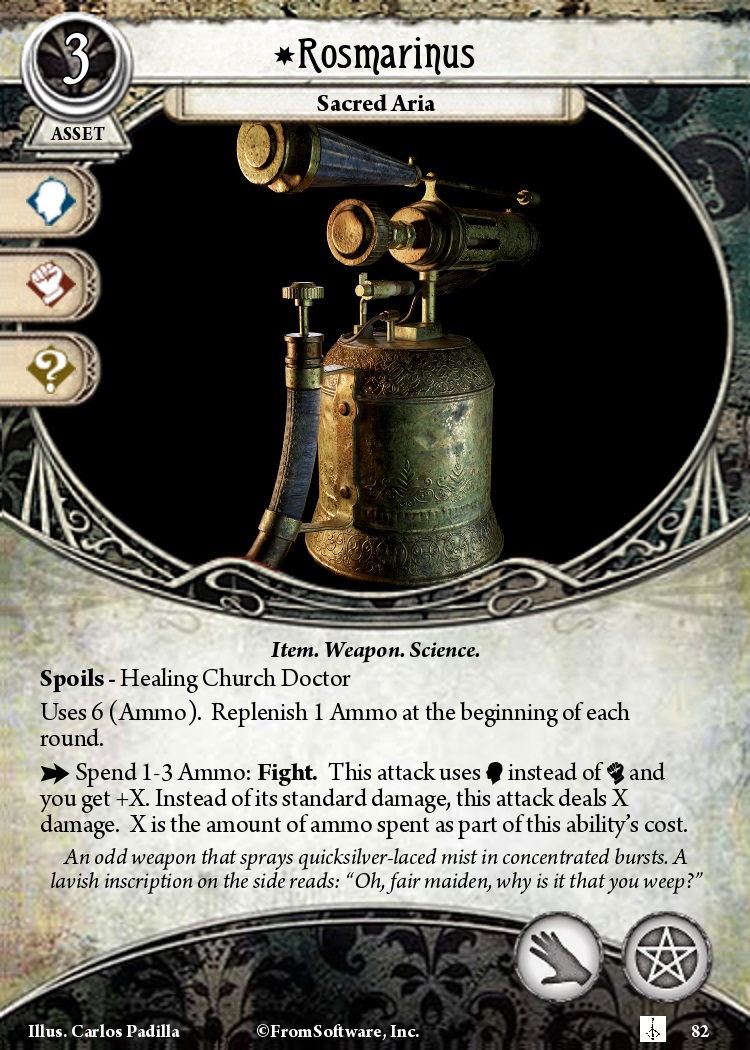
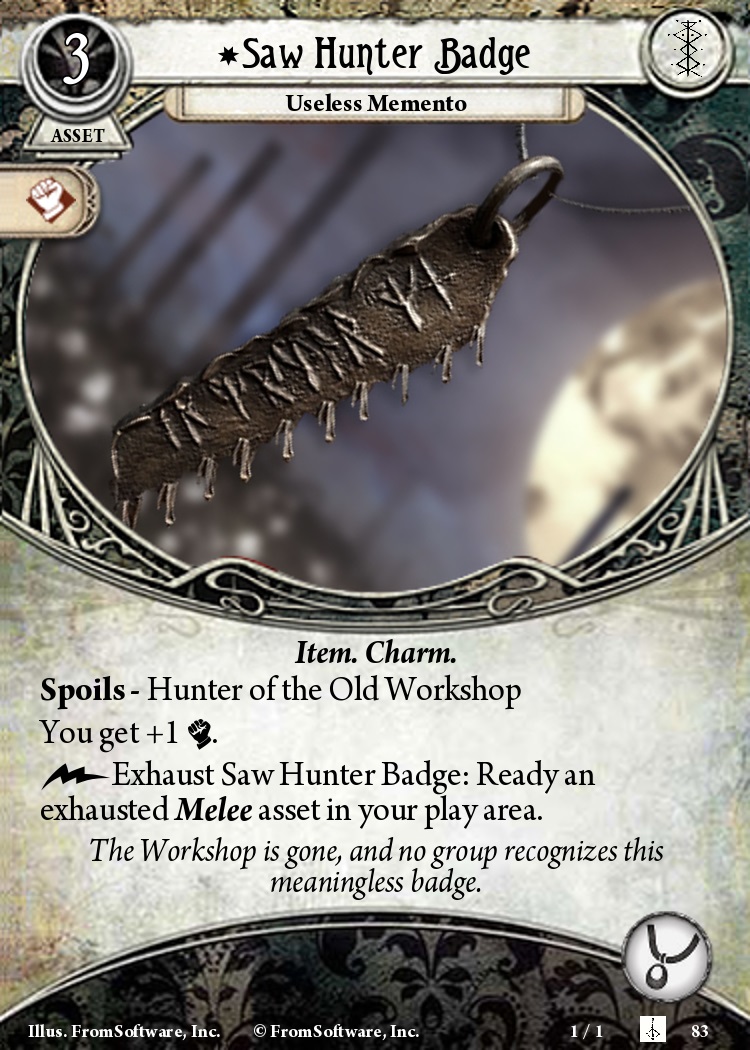
Defeating the hunter enemies who are randomly added to the deck unlock their spoils, which are powerful story assets. These hunters appear in Scenario 3-7, giving you five chances to kill them. Normally, only one is added to the deck, but asking the Plain Doll "Why do you call us Hunters?" lets you add two instead. Even then, that only lets you obtain 10/12 of these Spoils on any playthrough. While these dissections normally don't cover all story assets, they're included here without commentary because they're pretty cool, and so you can decide if you'd rather the additional challenge of adding two hunters into the deck.

Ally Quests
At the beginning of scenario 5, you're offered quests for each story ally you have alive. These quests all involve completing some task before the end of Scenario 7, and then have a climax which usually must be completed before the end of the scenario. Doing so successfully rewards you with a story item. In addition, if you complete a quest for an ally, you unlock that ally as an investigator at the end of the campaign.
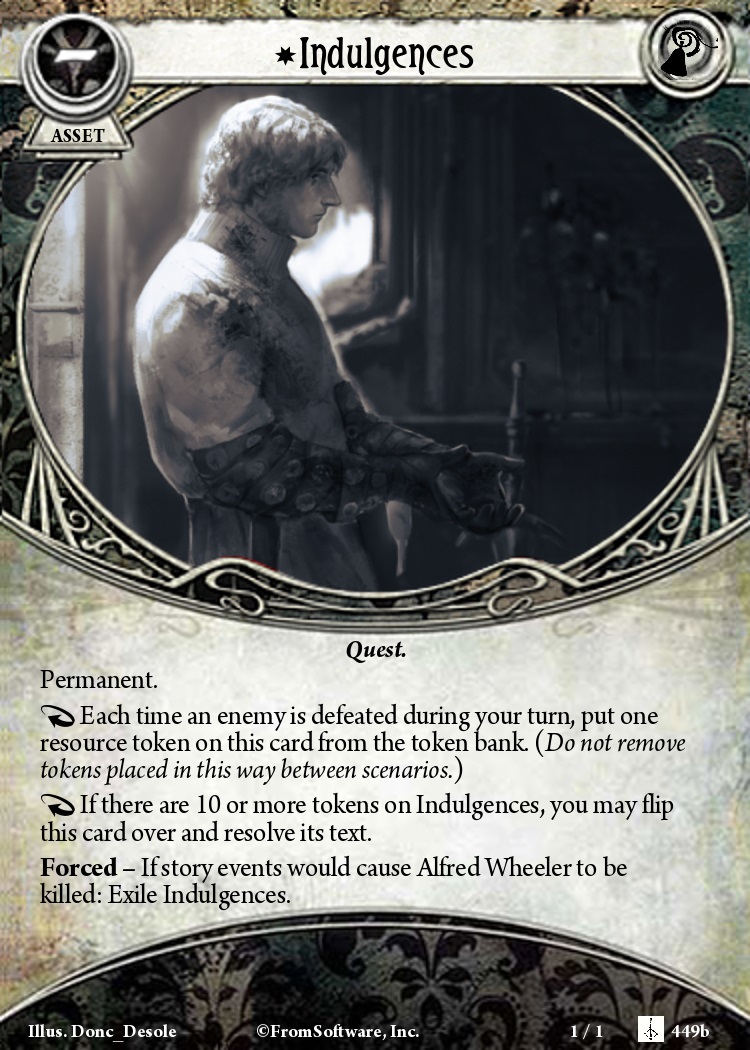
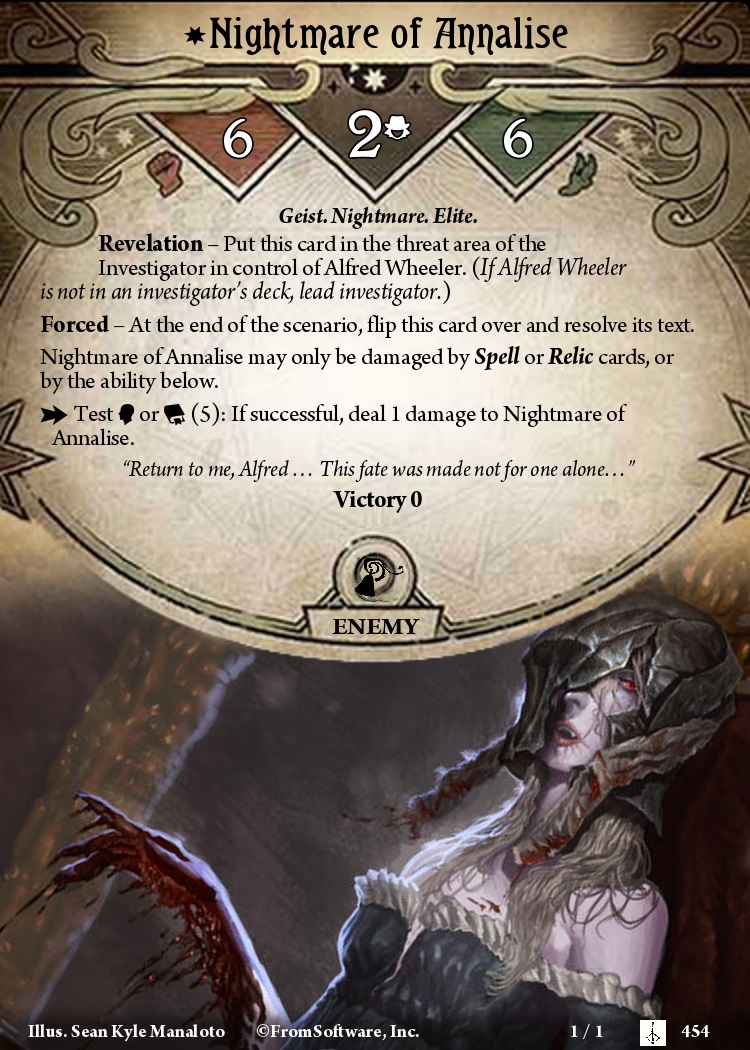
Alfred's quest requires you to defeat enemies, and luckily, there are a lot of them, so for a combat focused character this won't be hard to complete, and you don't have to go out of your way to do it. The Climax boss might be far more difficult, however, being immune to most attacks - you really need to go in with a plan against her, especially given her massive combat stats. It really helps to have a mystic against her - which is good, as the reward for defeating her is a hand slot item that gives to Willpower and Health!
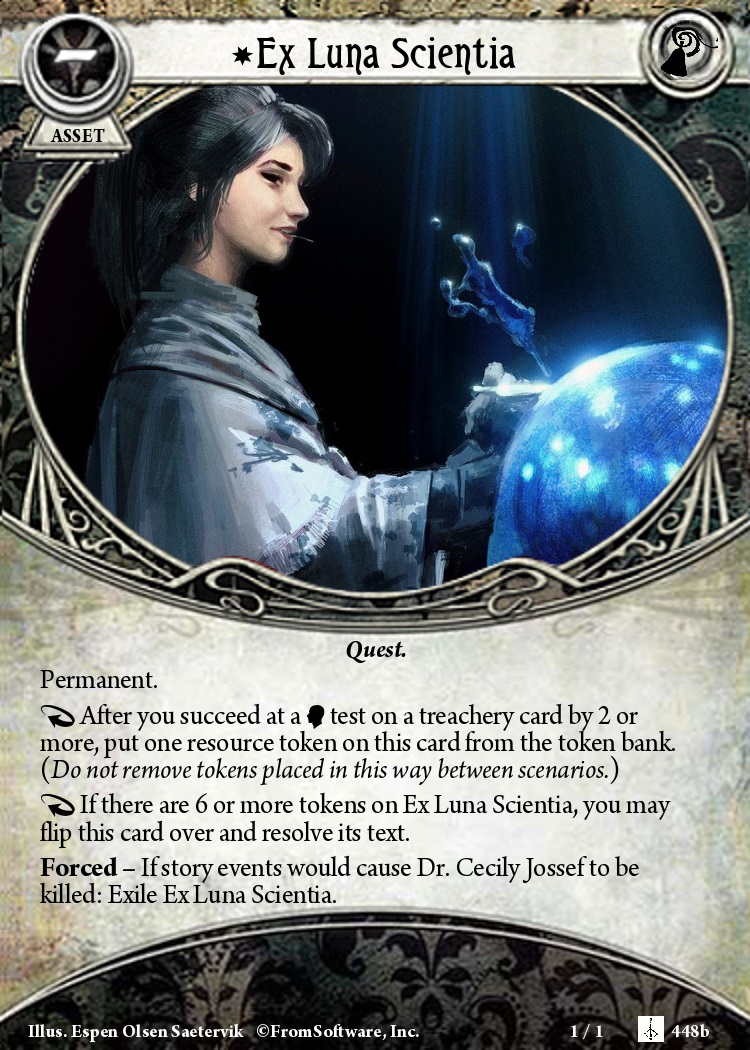
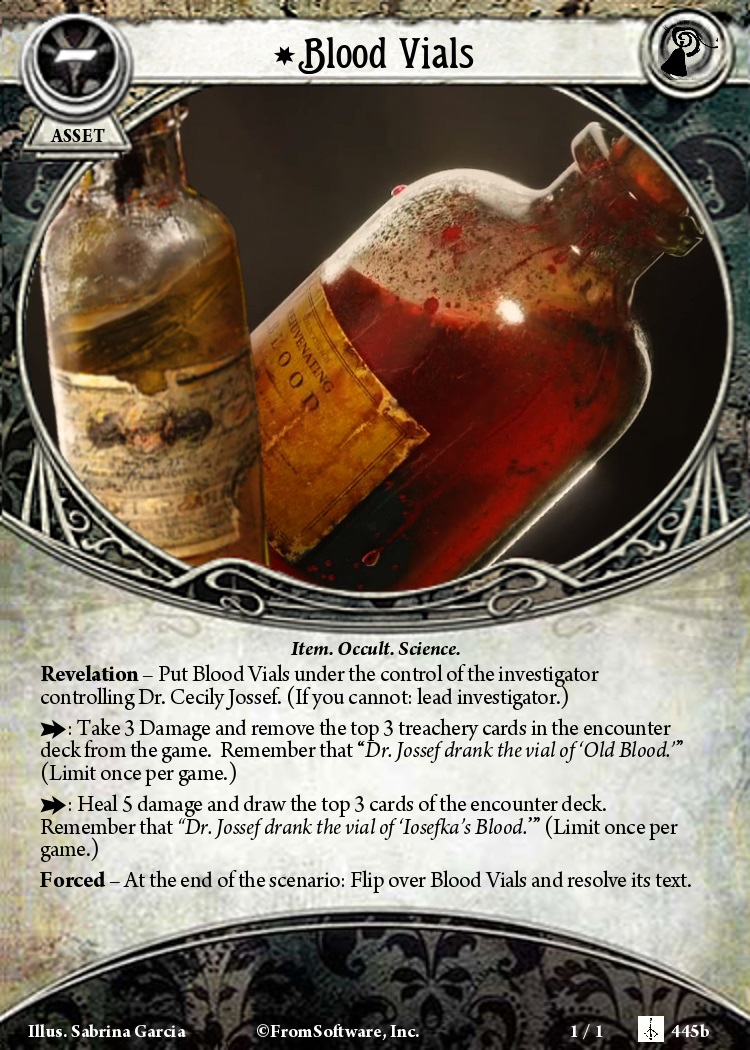
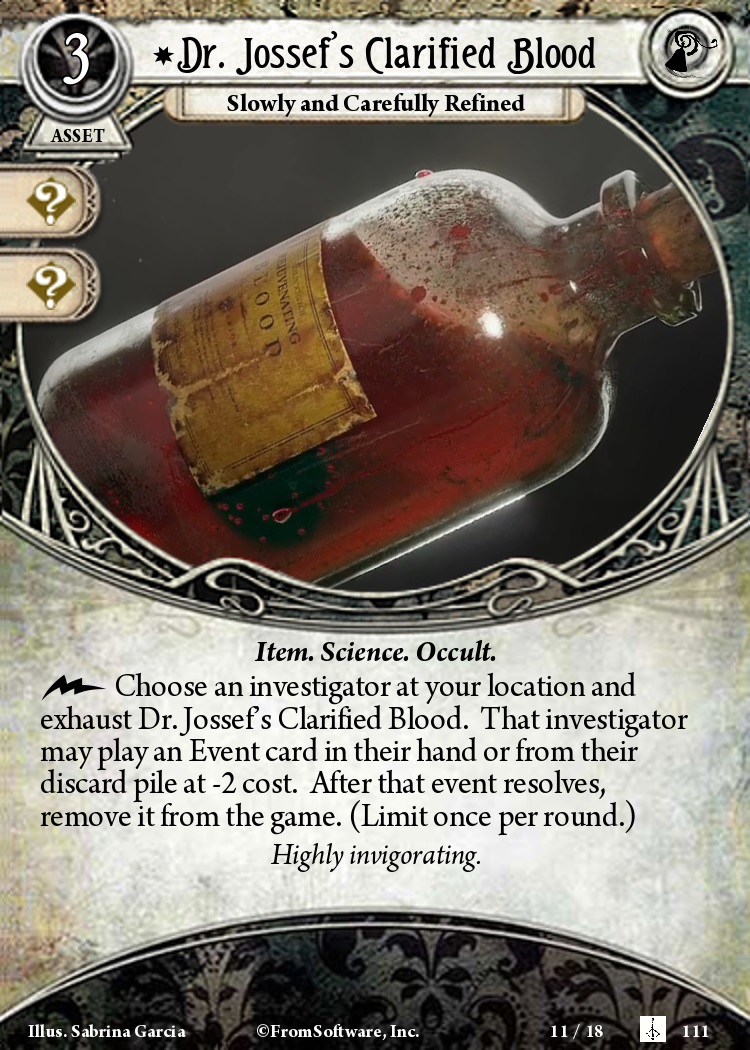
Cecily's quest is hard to force - requiring oversuccess on willpower treacheries. If you don't draw any, you might struggle, but you can always perform tests on treacheries in other people's threat areas to help. This has the problem of requiring you to take actions and spend resources you otherwise might not want to, though. The climax then gives you blood vials that Cecily can drink -the best option being drinking both of them, which involves drawing 3 encounter cards! The reward is amazing, however, letting you play events fast at -2 cost.
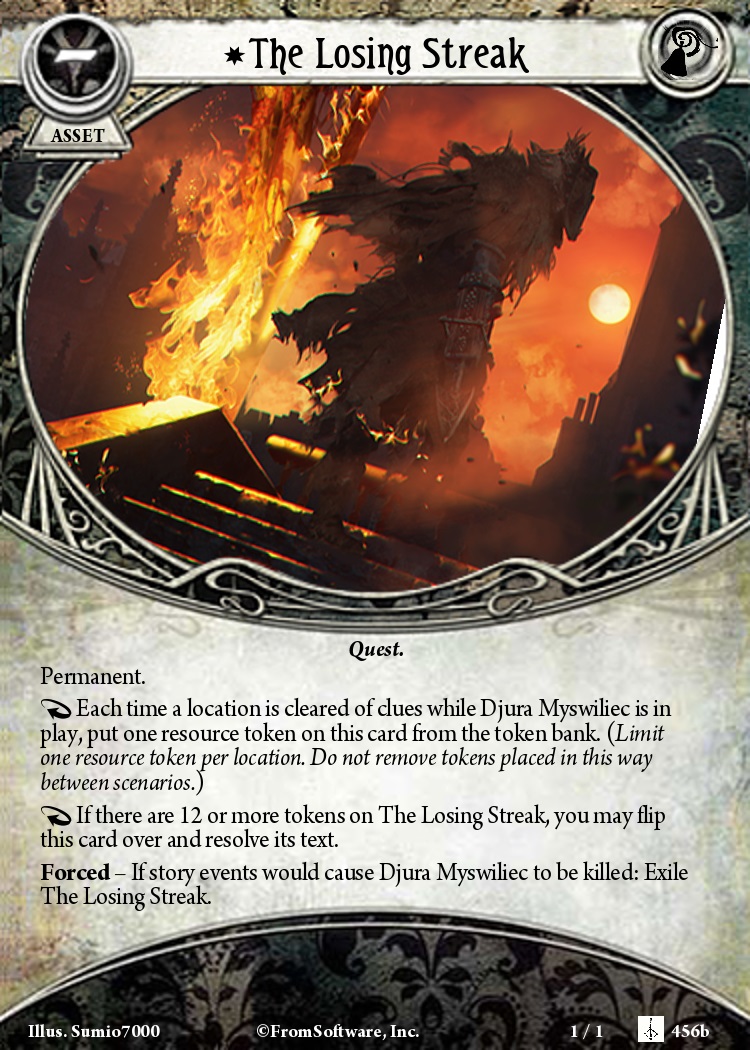
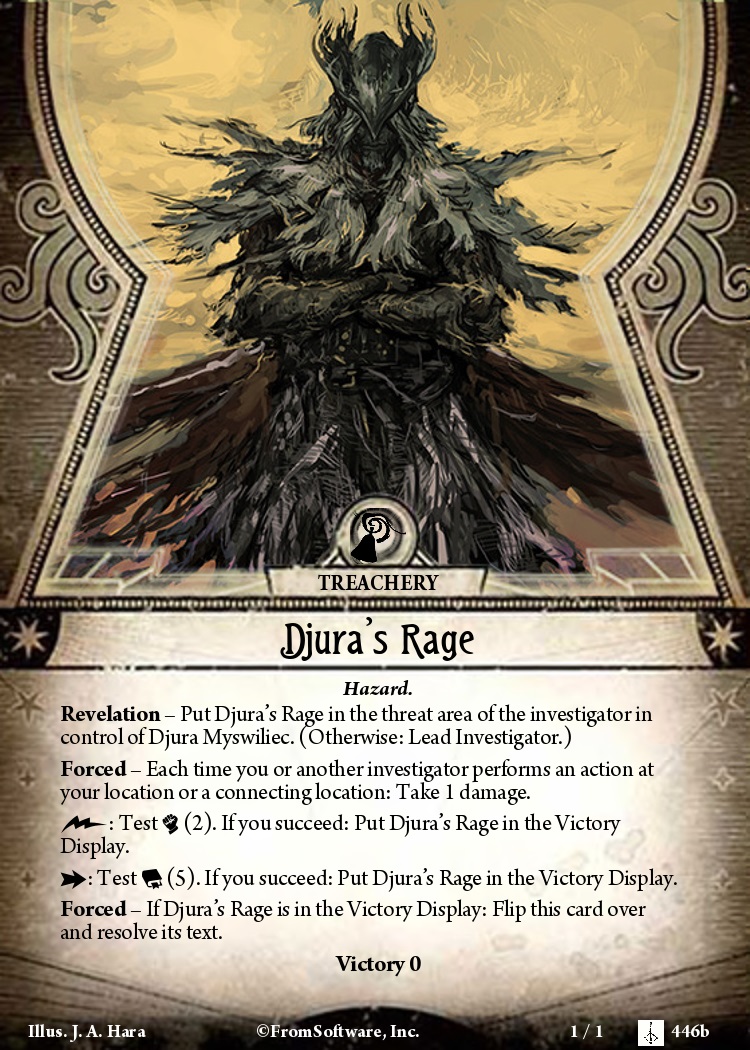
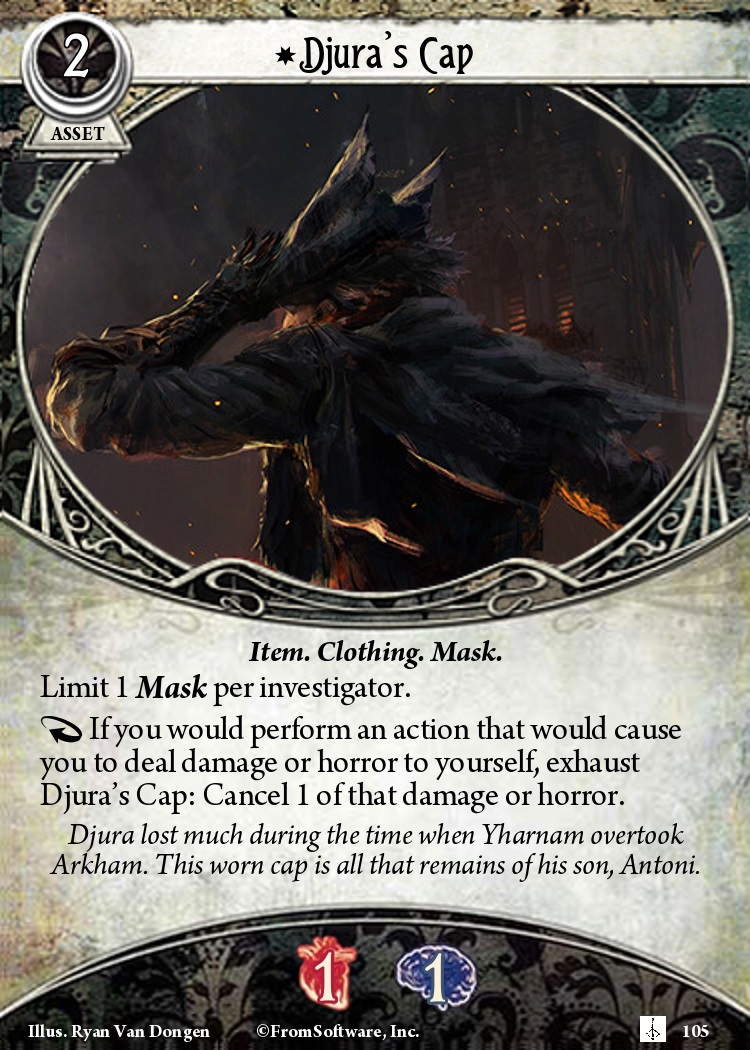
Djura's quest is another case of "just doing what you wanted to do" by clearing locations from clues, but it also requires you to have him in play. If you don't draw him, you just may never have a chance to do it. For his climax, you have to talk him down - doing the Combat test will fail the quest and kill him, but doing the Intellect test will let you succeed. It's an easy test if you know it's coming, luckily. For all that you get Djura's Cap, which is pretty niche - it's not bad when used with the Hunting Pistol you can get in Scenario 1, but a lot of investigators just might not have a use for it.
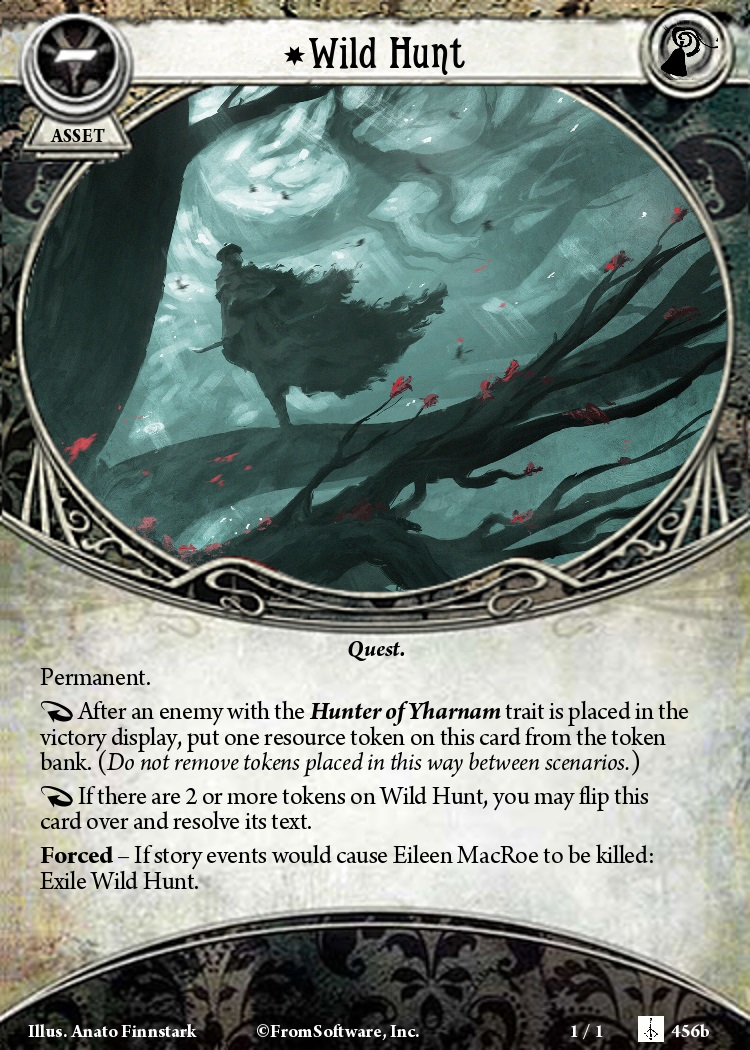
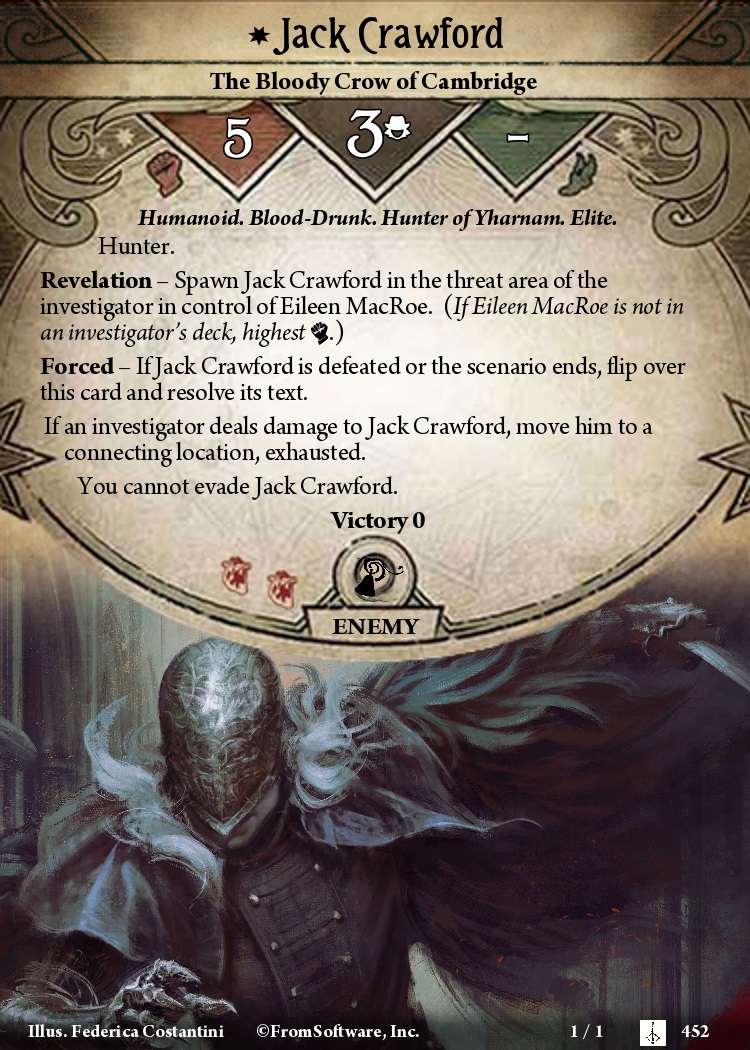
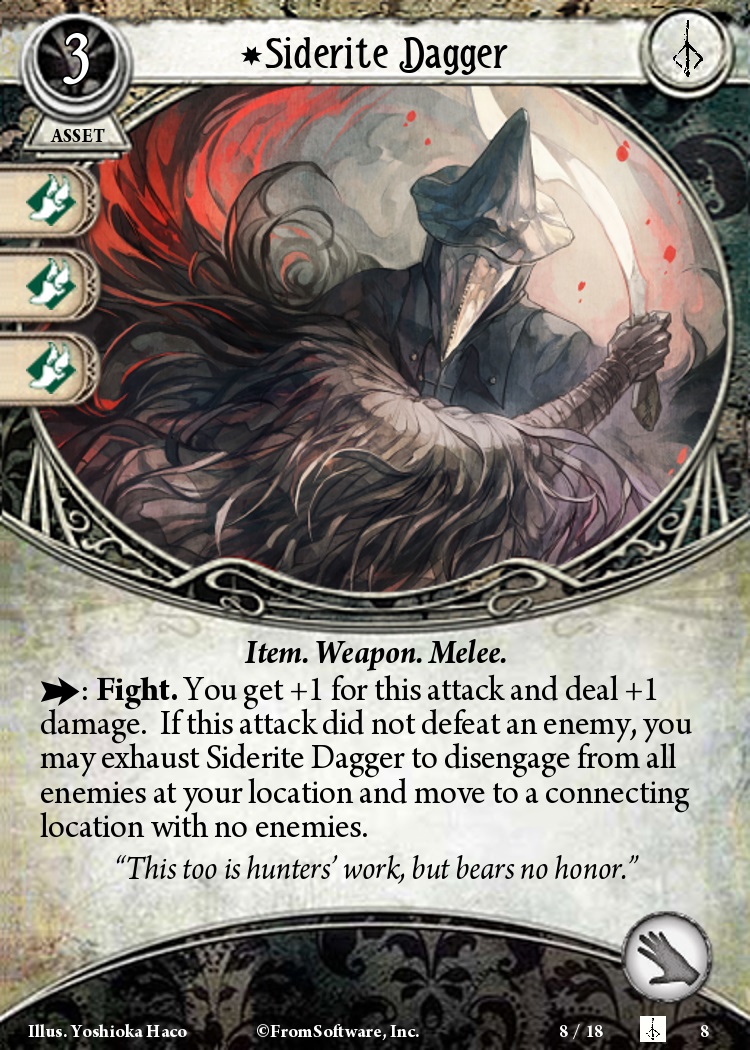
Eileen's Wild Hunt just has you kill two enemies from the Hunter of Yharnam set, and seeing as you have 3 chances, that's easy enough. Her climax fight has quite high fight, but it's also nothing the campaign hasn't been asking from you yet - it's certainly not a great addition to a tough scenario, though. Successfully completing the quest gets you another reliable +1 attack, +1 damage weapon that allows you to move away from enemies if you fail to kill one. It's a niche power, but has some uses, especially when overwhelmed.
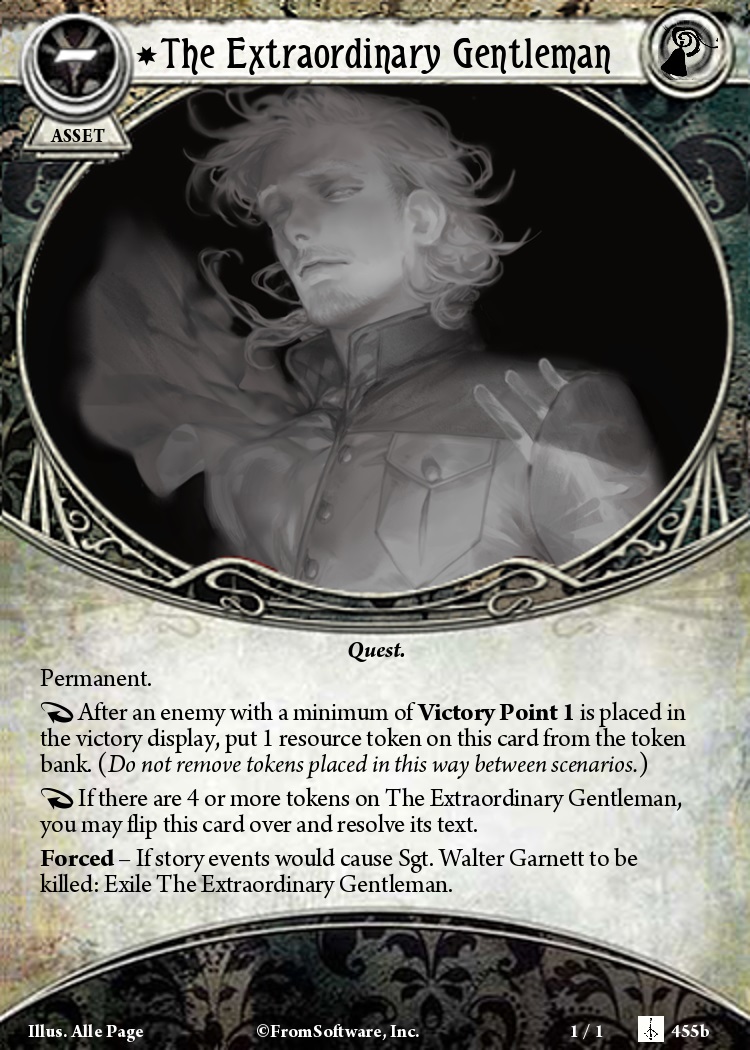
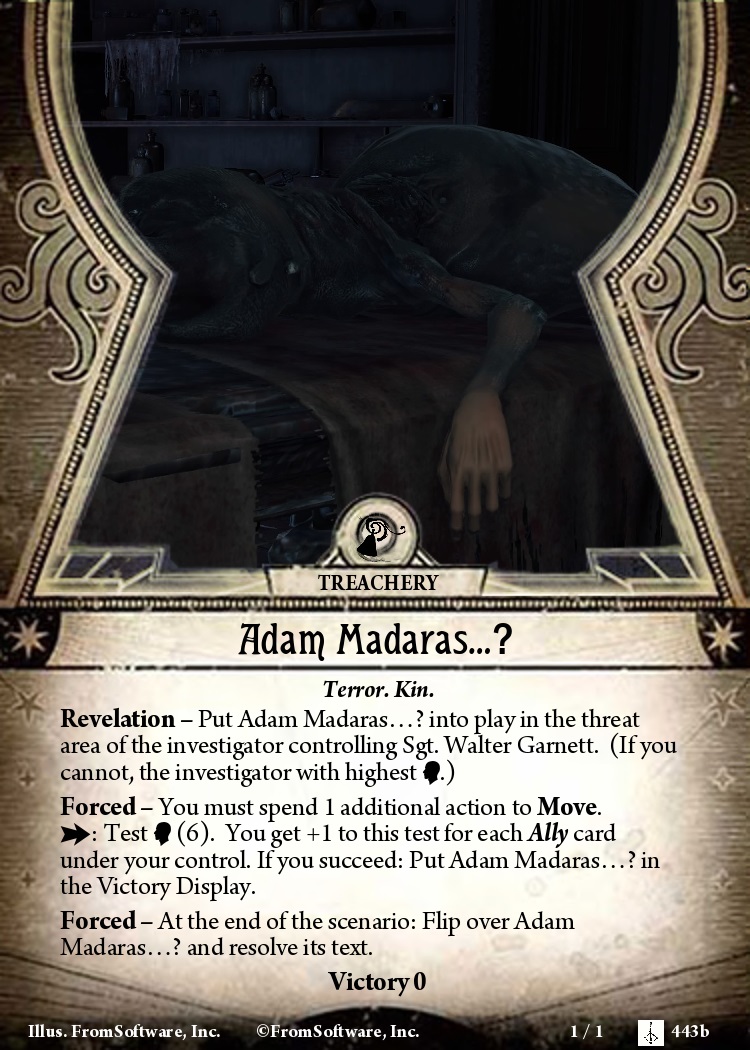
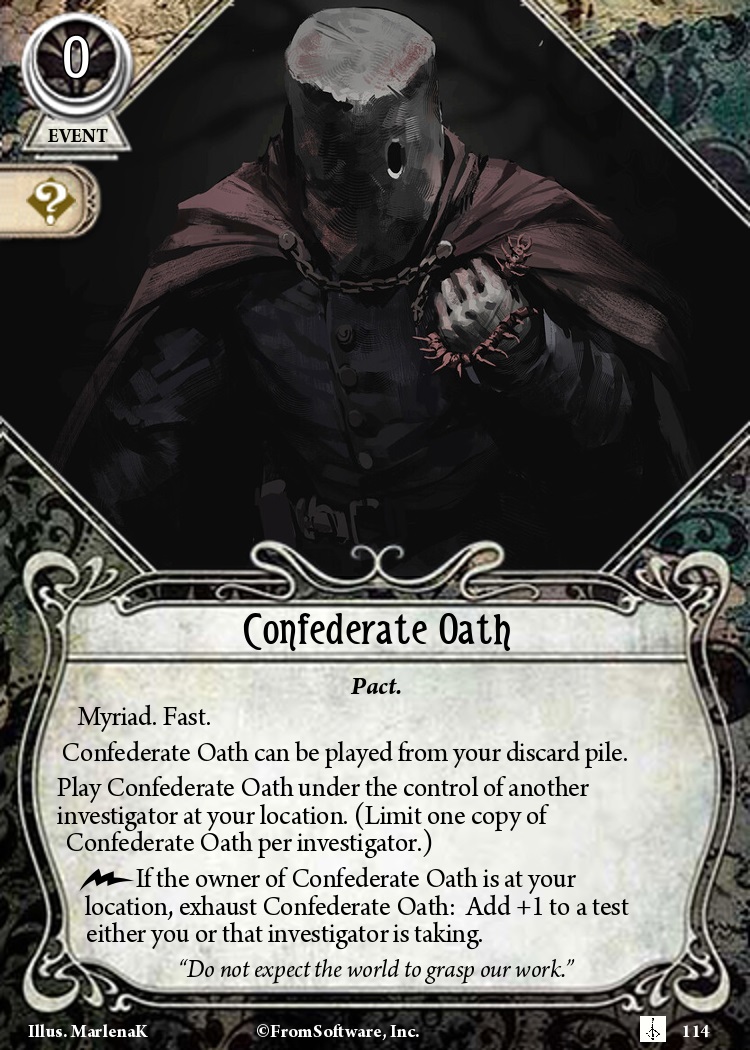
Walter's quest is tricky. You need to earn four Victory Points from enemies, and while Scenario 5 has up to 3, Scenario 6 doesn't have any unless you shuffle one of the bonus ones in from high recognition! The climax can greatly slow you down if you don't have a way to deal with it, and can't just be run from like some of the others. That Willpower test is hard, and you'll want to know ahead of time if someone can complete it. The reward is a general, all-purpose card that helps boost anyone's tests as long as you stick together, which can be great, especially in the hands of a character with enough draw.
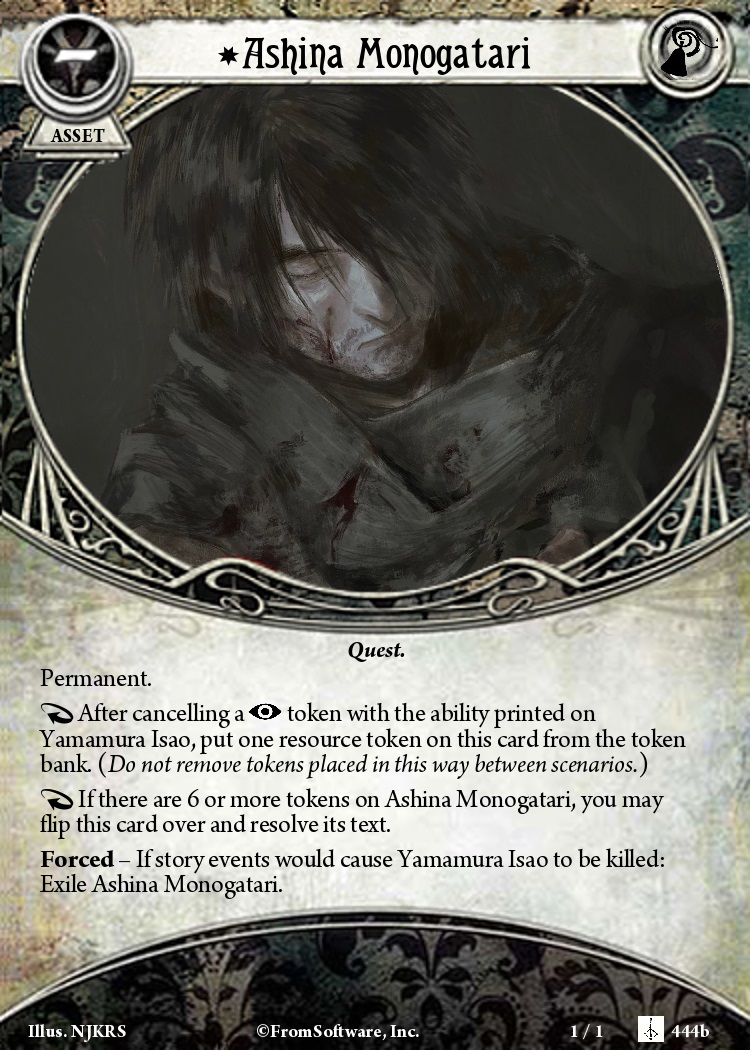

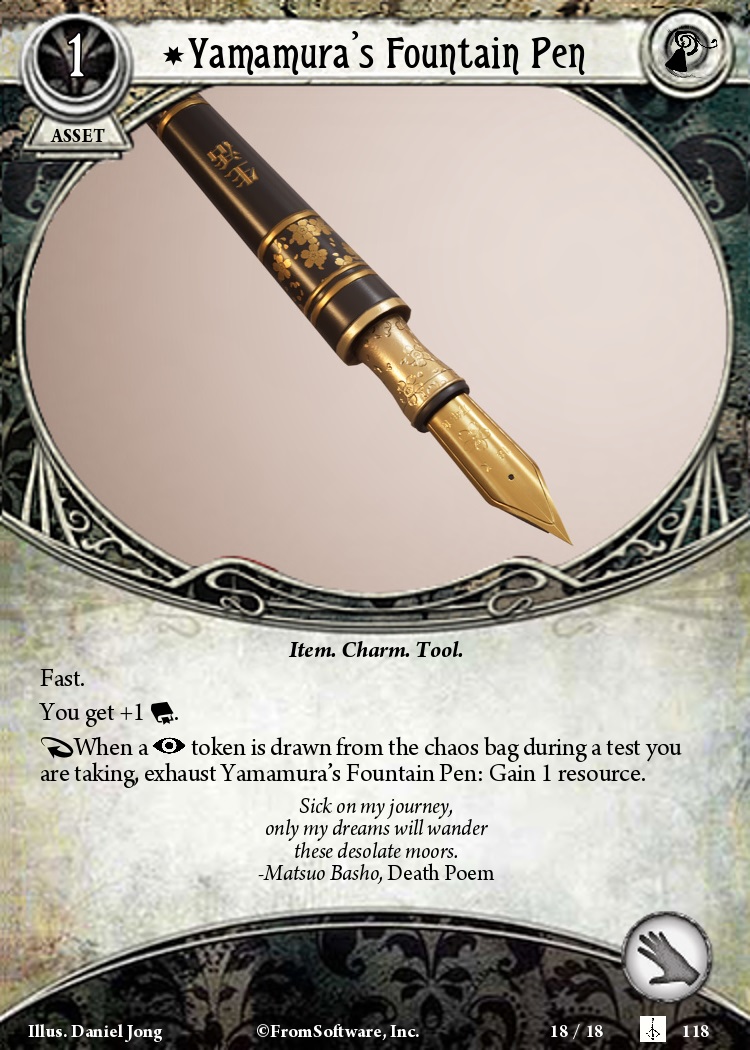
Yamamura's quest asks you to cancel 6 insight tokens with his ability. This can be a pretty big recognition penalty, and this is another quest that demands he be in play first - and the earlier in a scenario, the better. That's the hardest part. The climax is the big time soak, requiring you to grab 4 clues off a location to even be able to continue the scenario you're on. The reward ends up being a slightly better Magnifying Glass - certainly, the extra resources are welcome, but it's more of a benefit if you'd be doing all the quest asks anyway.
More on Bloodborne - City of the Unseen:
Bloodborne - City of the Unseen: Spoiler-Light Review
Bloodborne - City of the Unseen: Advice and Overview
Bloodborne - City of the Unseen: Dissection
Bloodborne - City of the Unseen: Unlockable Investigator Gallery