Introduction and Spoiler Warning
This is a full, in depth-guide to Call of the Plaguebearer, a custom Arkham Horror Card Game campaign by Dr. Jack Science. This article discusses potential XP, story paths, secrets, and FULL SPOILERS, so be warned!
In Call of the Plaguebearer, the investigators wake up in a morgue to find a dark plague is spreading across Arkham, turning those afflicted into violent monsters - and one Doctor West might be involved...
Experience
Available XP per scenario/interlude:
Scenario 1: Late Risers: 6 (locations) + 1 (Worshipful Thrall, in the encounter deck) +2 (First Among Many or Agent Grayson) = 9 XP
Scenario 2: Night on the Town: 6 (defended locations) +2 Hateful Pustule = 8 XP
Scenario 3: Dead By Dawn: 5 (locations) +2 (First Among Many) = 7 XP
Scenario 4: Mourning Chorus: 2 (Priest of Plagues) +2 (Fallen Arkham Elite enemies) +1 (Worshipful Thrall, on Agenda flip) = 5 XP
Scenario 5: High Noon Descent: 2 (locations) +1 (Agent Crispin, on Agenda 2 flip), +2 (First Among Many, on Agenda 3 flip) + 2 (Yithian Observer or Fire Vampire) = 7 XP
Scenario 6: The Afternoon War: 2 (locations) +2 (Messenger of The King/Flame) + 2 (Fallen Arkham enemies or Agents enemies in encounter deck) +1 (Agenda 2 flip monster) = 7 XP
Scenario 7: Death at Sundown: 2 (locations) +2 (Tendrils of the First) +1 (Worshipful Thrall, in the encounter deck) = 5 XP
Scenario 8: The Midnight Hour: 5 (Baalshandor) +1 (Worshipful Thrall, in the encounter deck) = 6 XP
For Scenario 1, the Narrow Stairs location has Victory 2 on it, and is an option to pursue instead of fighting the First Among Many or Agent Grayson, both Victory 2 enemies. While you can both clear it of its 3i clues and defeat one of the bosses, doing so is pretty hard - making the practical maximum XP for this scenario 7.
For Scenario 6, if you have no Fallen Arkham enemies remaining, depending on what Agents enemies you shuffle into the encounter deck might change what victory points are available - shuffle one of each to make sure you don't miss out on XP no matter what you do if that's your priority.
You can potentially go into Scenario 8 with 48 XP. More likely, you can expect around 40 XP for going into the final scenario if you make sure to pursue XP.
Campaign Breakdown
Knowing is Half the Battle
In order to defeat Baalshandor in the final scenario, you need to know how to even defeat him. You have a few ways to pick up this knowledge throughout the campaign. First, there are two methods that allow you to destroy Baalshandor - doing so is harder than the other option, as it requires you to seal the locations enemy-side up:
- If Herbert West isn't dead going into Scenario 8, he'll start in play, allowing you to follow his plan in Act 2. You'll also have to be at West's location to do so.
- If you obtain the Suspicious Briefcase in Scenario 1, held onto it through the entire campaign, and ask Yog-Sothoth in Interlude 4 "How do we stop Baalshandor? you can proceed with this path. When sealing locations, you need to have the Suspicious Briefcase there to do so.
If you don't have - or don't want - to do either of those, you can instead bind Baalshandor. That's not without its own requirements, however, giving you the following options:
- In Interlude 4, ask Yog-Sothoth "How do we stop Baalshandor?"
- In Scenario 1, defeat the First Among Many and add Agent Grayson to your deck. Then, in Scenario 8, use the ability on Grayson's Loyalists to sacrifice her - this allows you to defeat a Miasma enemy and place a horror on any location, as well.
- In Scenario 8, use the ability on the Messenger of the King or Messenger of the Flame, spending 3i clues. This allows you to place horror on two locations (which would normally cost 4i clues) and flip them to their Stable side.
Red Text
Throughout the campaign, there are multiple cases where you can read red text - communications from the Plaguebearer itself - that give a variety of effects.
- Reading the prologue lets you start the first scenario with 2 additional resources.
- In Interlude 1, between Scenarios 2 and 3, reading the text will cause anyone who reads it to start next scenario with an additional horror and card in hand.
- In the resolution to Scenario 4, if any investigators are defeated, or if you read the text pertaining to that even without being defeated, you add an Elder Thing token to the chaos bag for the rest of the campaign. Best to avoid this one!
- In Interlude 3, between Scenarios 4 and 5, reading the text will cause anyone who reads it to gain 2 Experience and 1 mental trauma.
- In the resolution to Scenario 5, there's a block of text that deals each investigator who reads it a physical trauma.
- After the resolution of Scenario 6, there's an entire page of tempting red text. Reading it removes a Skull or Tablet token (whichever there are more of) from the chaos bag, and adds in a Cultist token instead. It also heals 1 trauma from every investigator.
- During the resolution of Scenario 7, the red text gives you You have been warned and adds a token to the chaos bag (-5 on Standard). It avoids you starting the last scenario with 2 damage and 2 horror or a random weakness, and ensures that you don't "accidentally" cause Herbert West's death.
The Lurker at the Threshold
At Interlude 4, after Scenario 5, you can ask up to three questions of the Lurker at the Threshold. For every question you ask past the first, each investigator gets a random Madness or Pact weakness to their deck! As such, make sure you really want to get the bonus you're asking for. The questions (and their rewards) are as follows:
What chance do we stand against the Flame and the King? This choice grants all investigators 2 clues during the beginning of Scenario 6. You'll need 8i clues total in the scenario, and it's a tough one that leads to a campaign end if you fail - so getting a 20% head start certainly helps.
How do we kill the First for good? This choice helps in Scenario 6, saving you around 2 clues and what is likely an action and 2 resources by letting you start with the Killing Words asset.
How do we stop Baalshandor? Helps for Scenario 8, giving you a method to defeat Baalshandor if you don't already have one. There are five potential methods in all.
Taking more than one of these options is pretty costly - on its own, the bonus for Scenario 6 feels the most impactful, with the one for Scenario 8 actually having the most other viable options you can take - although this is the onest that requires the least work.
The Defense of Arkham
One of the crucial choices in the campaign comes with the defense of Arkham. There are 8 potential locations - four of which come into play every time, and then you are given two choices of two to choose between to put into play. The locations will come under threat, and players will have to prioritize which to defend. Whatever locations you successfully defend in Scenario 2 will remain defended through the campaign - whichever ones you don't, will have an elite enemy and a treachery card show up in Scenarios 4 and 6. Again in Scenario 4 you can rally up to 2 locations - gaining an potential asset immediately, and a huge bonus in Scenario 8 if you do.
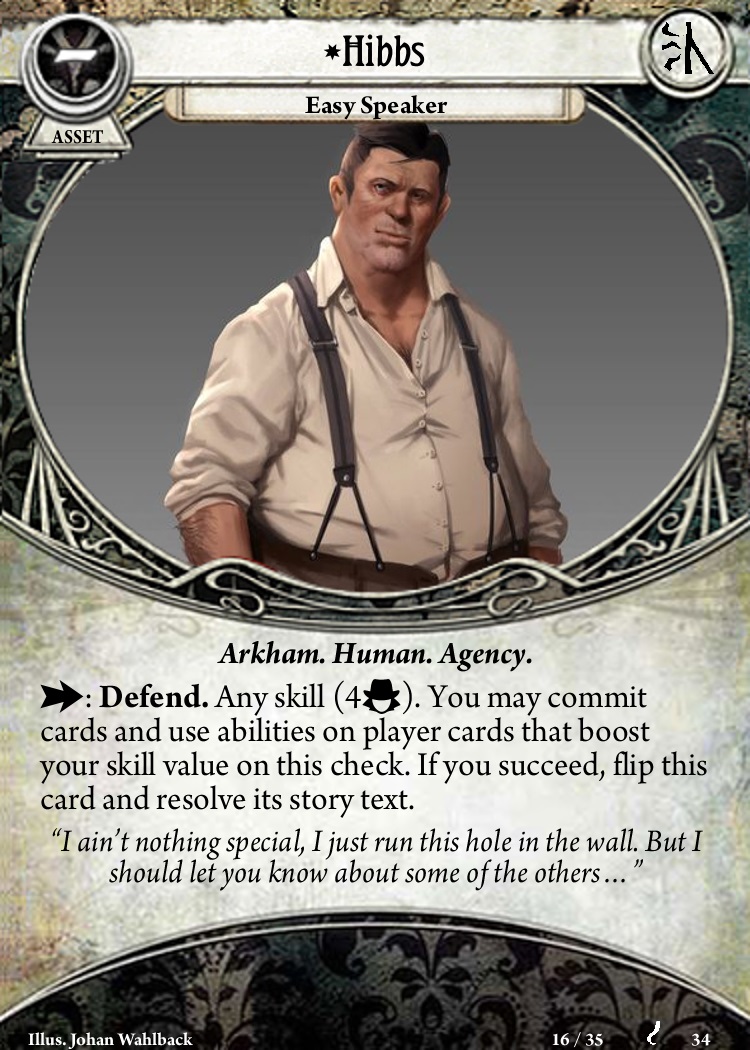
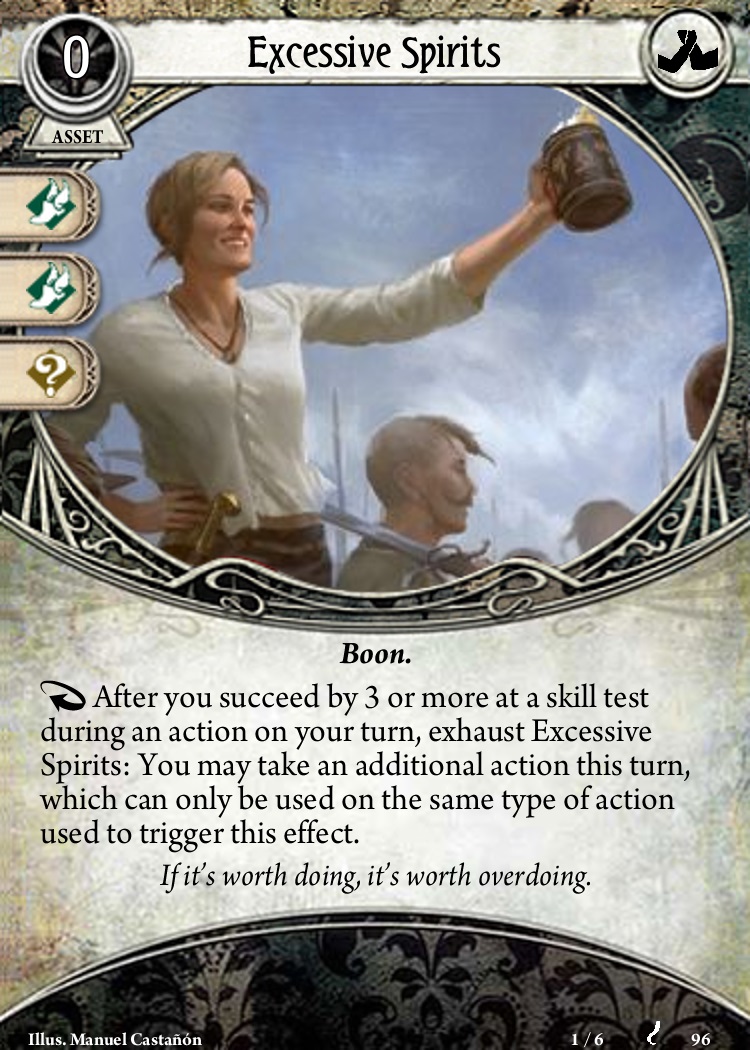

Allowing you to commit anything to boost your skill to Defend, Hibbs is likely possible to Defend for any group - which is good, because there's other story penalties if you don't protect him. The Excessive Spirits card is powerful source of actions for any character, and one of the more generally good assets -with Bone Dry being one of the more generally threatening treacheries.
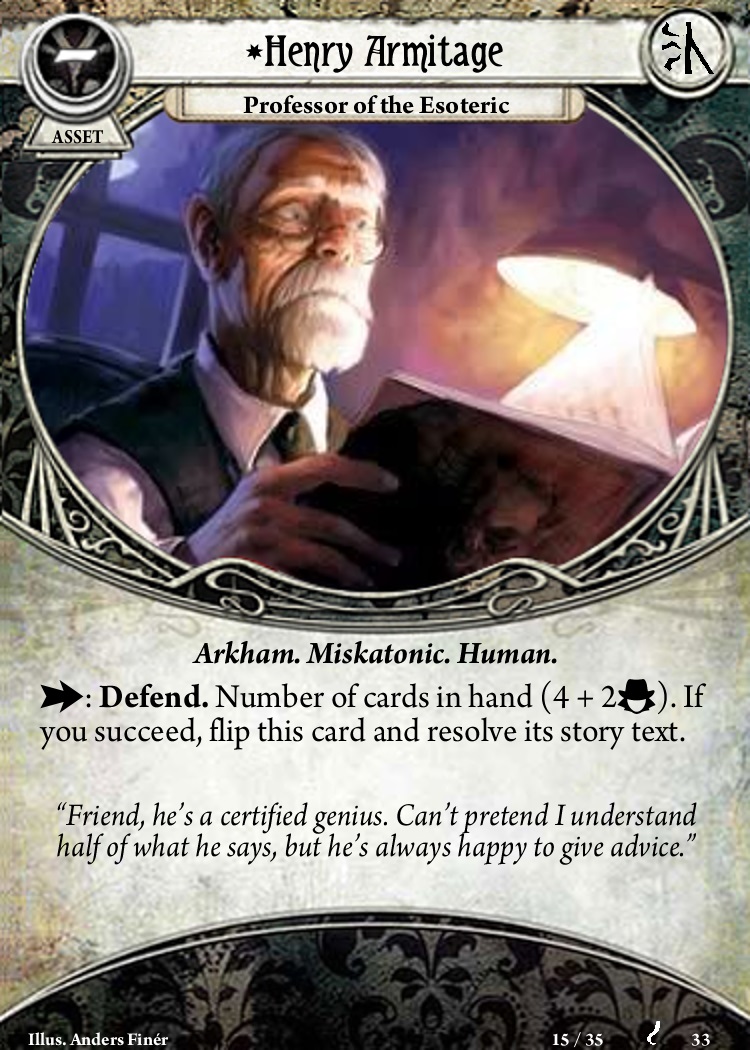

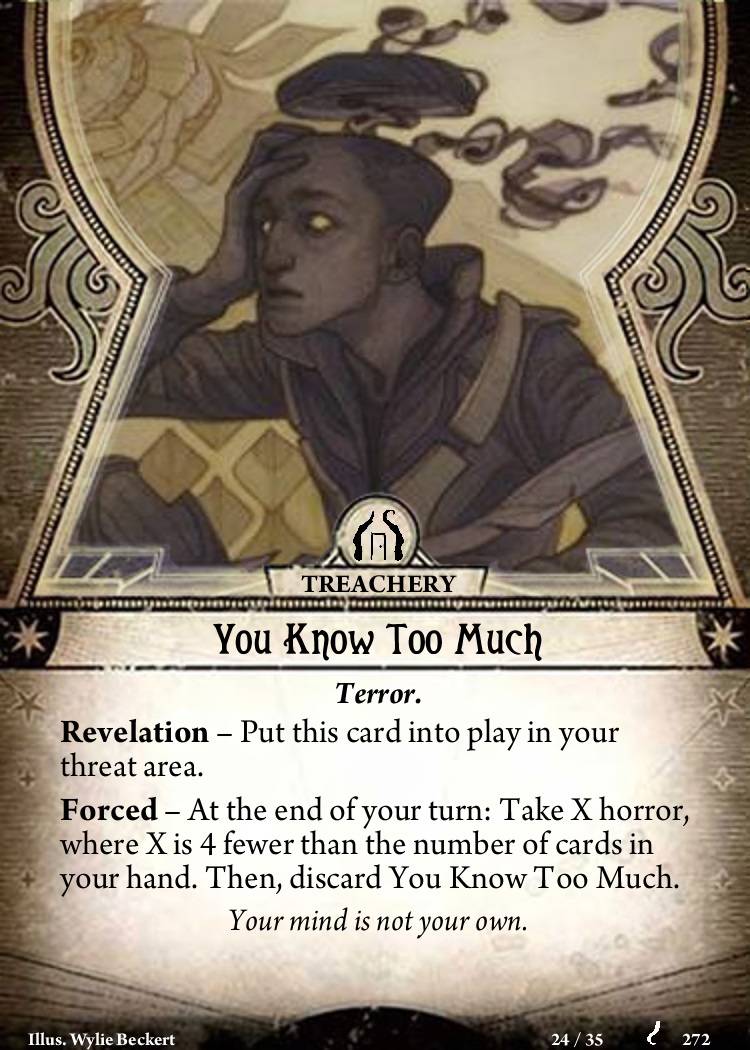
Henry Armitage is tricky to Defend in higher player counts - while anyone can easily reach 8 cards in hand with the help of his location, going further usually requires specific player cards. As assets go, the Reliquary Tome is one of the more niche ones if you're not going for a big hand strategy - and even then, it's likely a bit skippable. You Know Too Much as a treachery, meanwhile, is likely something most characters can just ignore by committing a bunch of cards before the turn is over. As such, deprioritizing Armitage is fair.
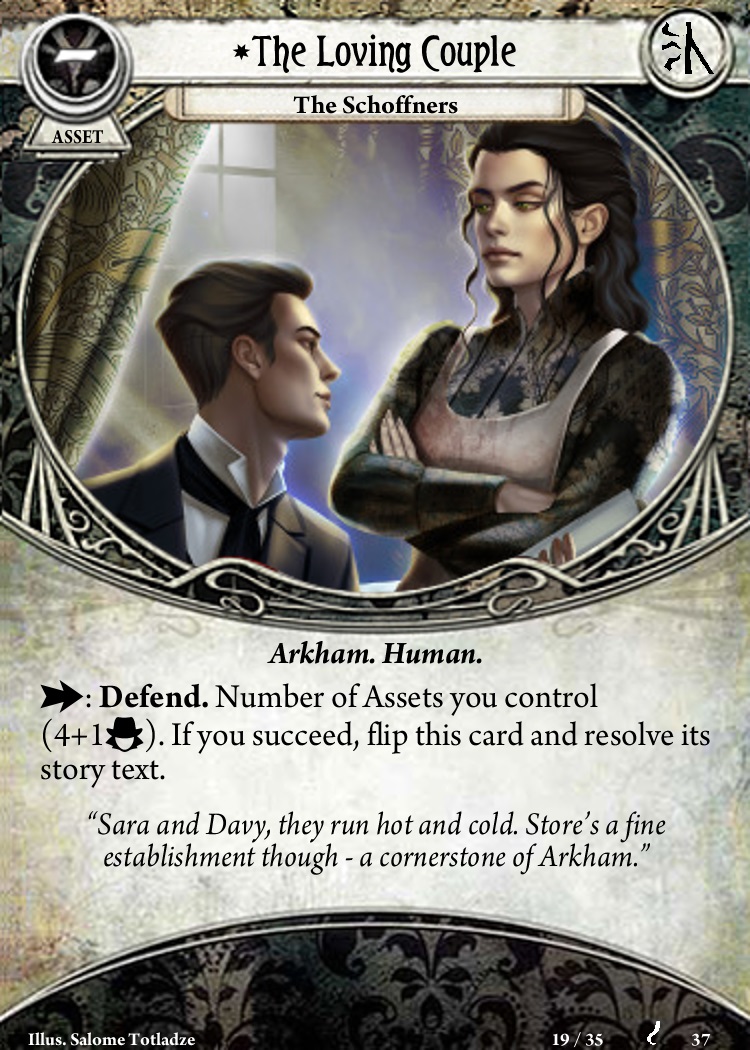
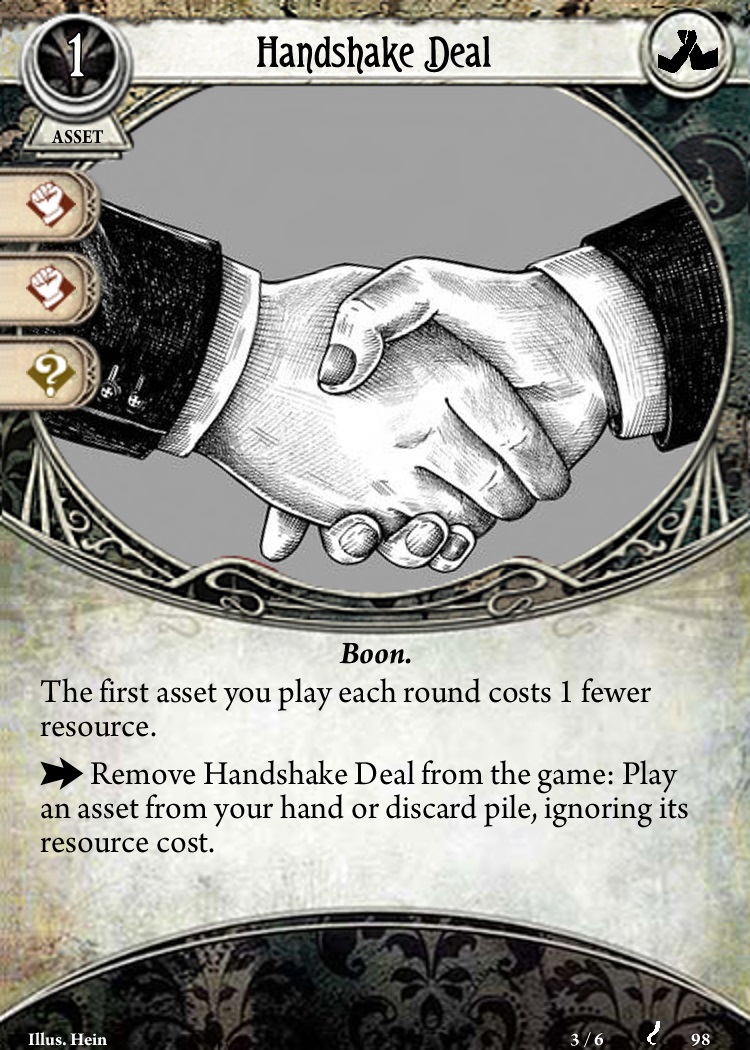
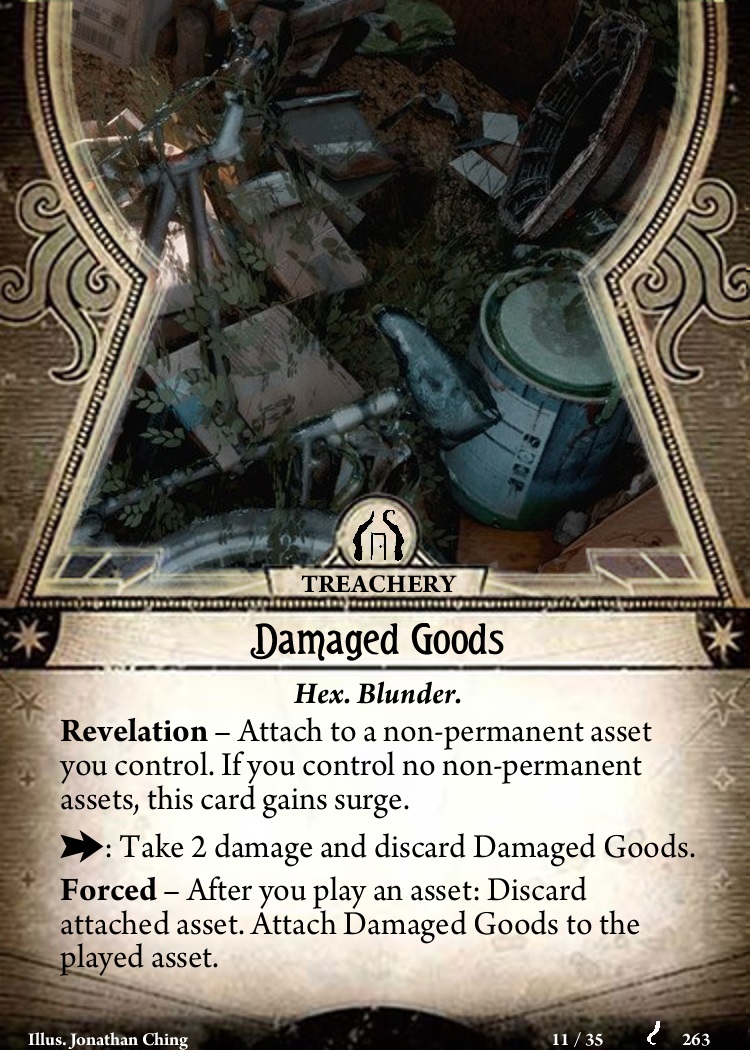
The Schnoffners are one of the easier ones to build around defending - characters with permanents will have a real easy time with having a lot of assets in play. Handshake Deal is potentially good, but a bit niche - even if you play it early, you need to play four assets to have it equal an Emergency Cache. It's best use is if you have a really expensive assets, especially one that might be discarded like Agency Backup. Damaged Goods is potentially devastating defending on your deck - if it hits you early, a gaurenteed 2 damage and action loss. Making sure the General Store doesn't fall should be a priority.
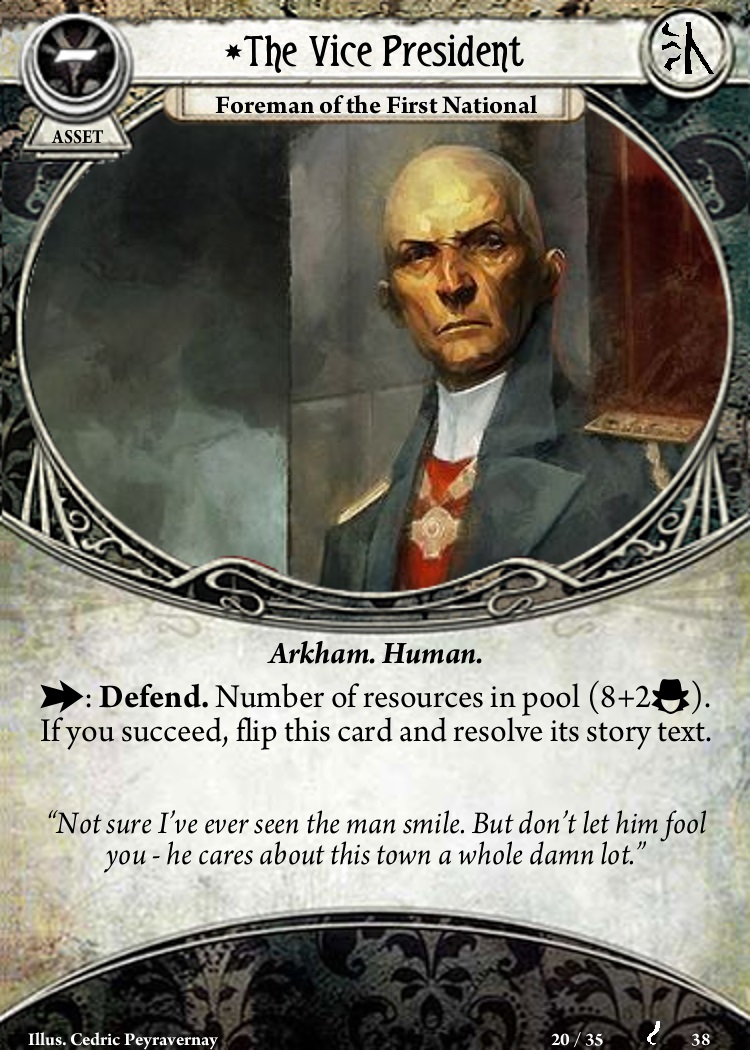
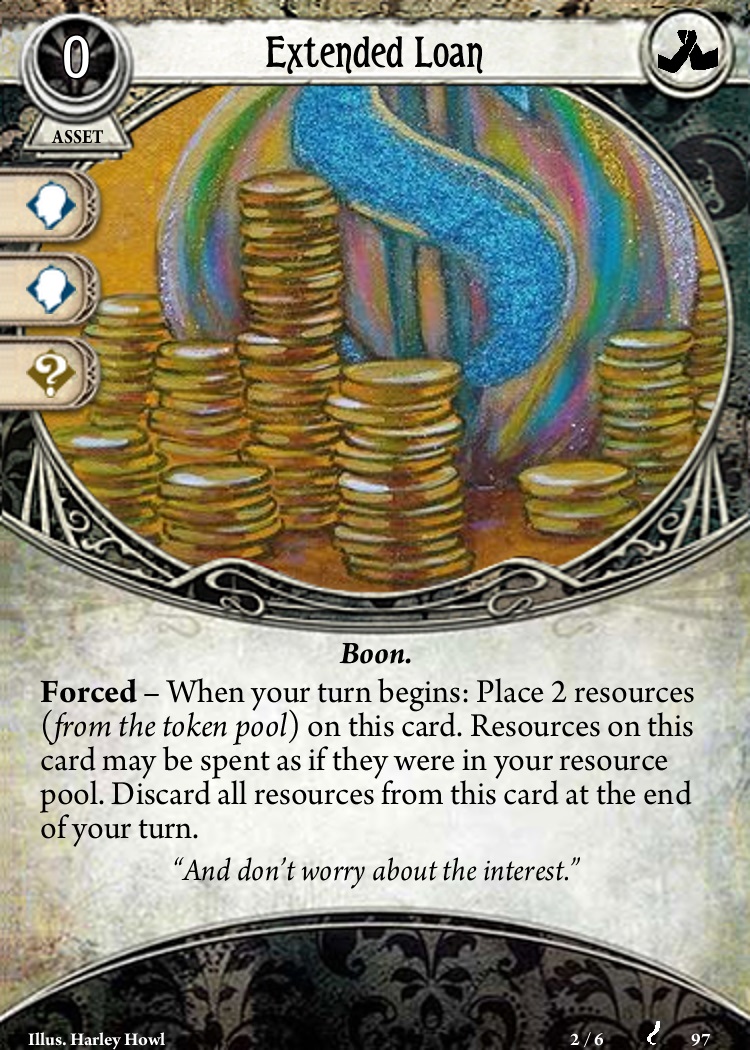
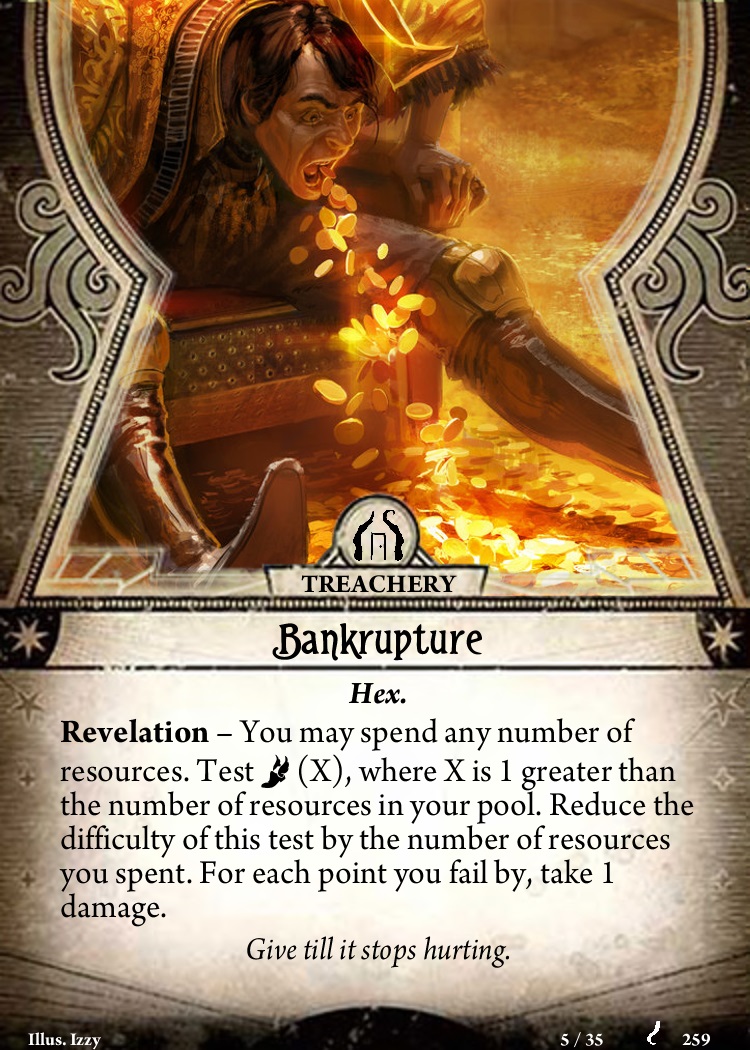
Compared to what Armitage asks of you, the Bank of Arkham is a lot easier to defend - there's no cap on resources, after all. The Extended Loan asset is powerful, especially if you're playing an event focused investigator or trying to horde resources (so you never have to spend your own), and nobody is going to say no to it. Bankrupture, meanwhile, may as well just read "Lose half your resources" - how much that's a problem will depend on how many expensive cards you want to play.
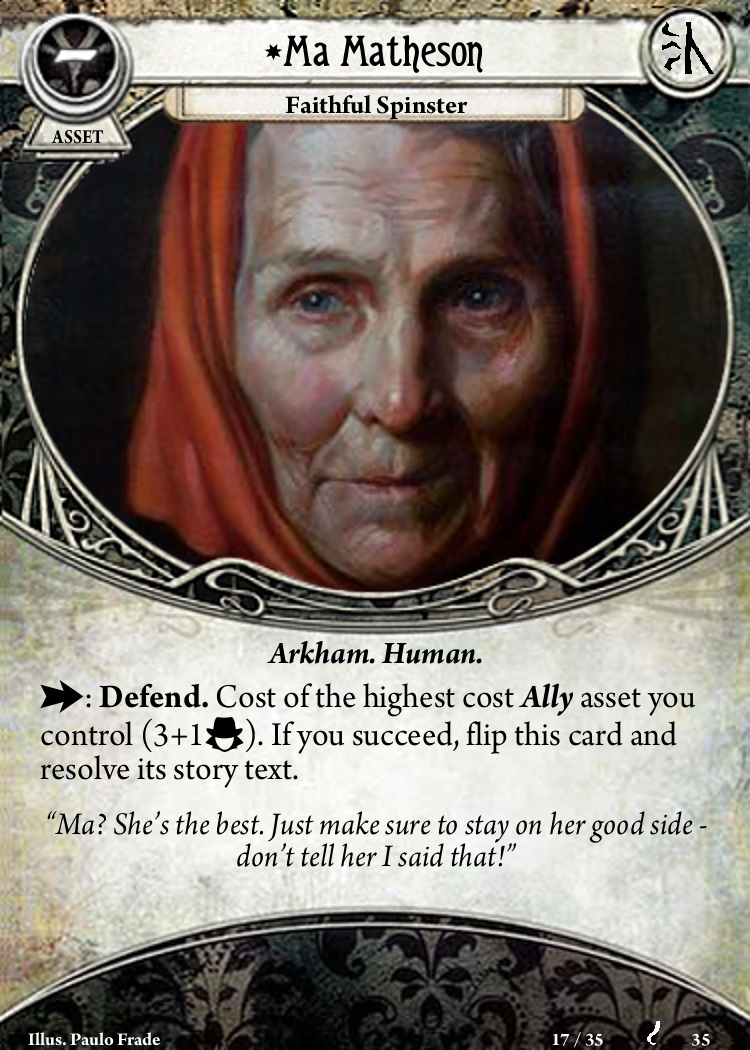
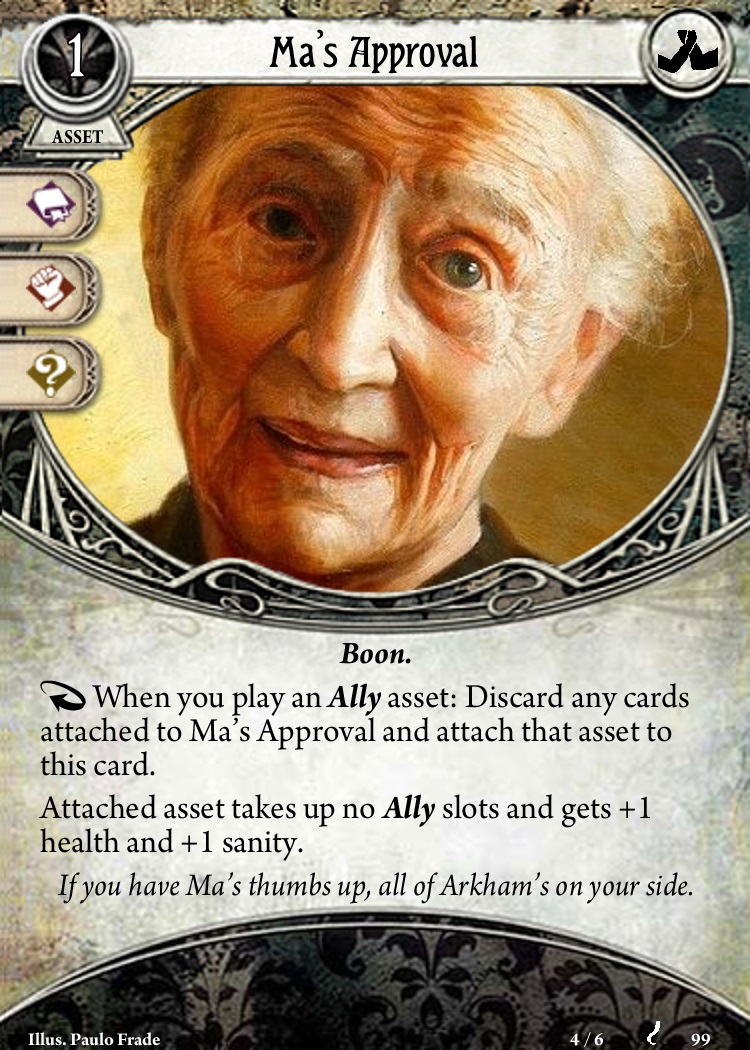

The first of the optional locations, Ma rewards expensive allies - if you're running Leo de Luca or Grete Wagner, she'll be easy to defend, and even a Dr. Milan gets you most of the way there. Ma's Approval is good for anyone who's cycling allies in and out constantly - fairly rare, but if you're playing Guard Dogs and Beat Cops her power is huge. You'll know if you need her. Broken Trust as an encounter card is likewise very soft or very painful, although even if you're running an ally for soak, it's unlikely to be more than a few resources.
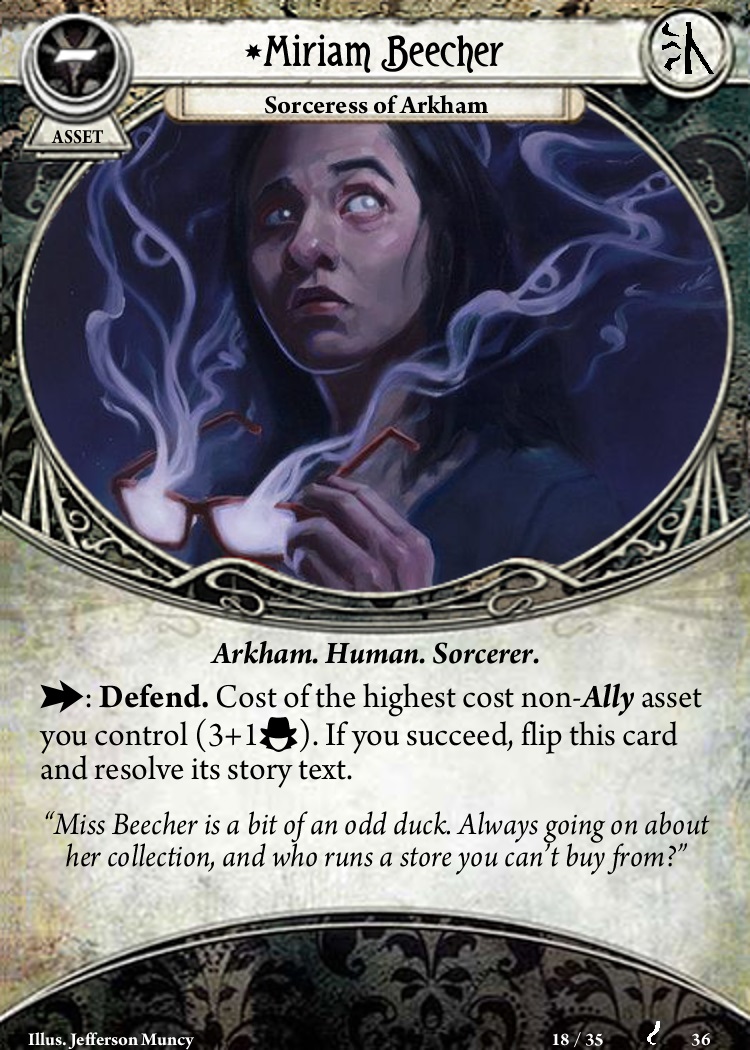
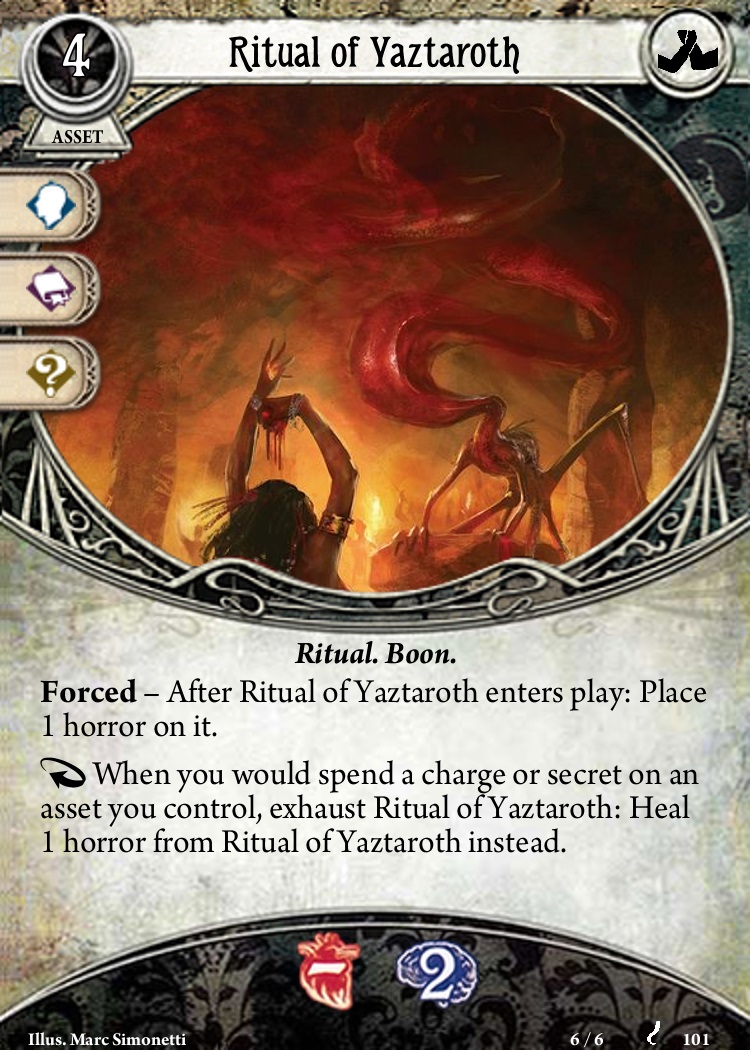
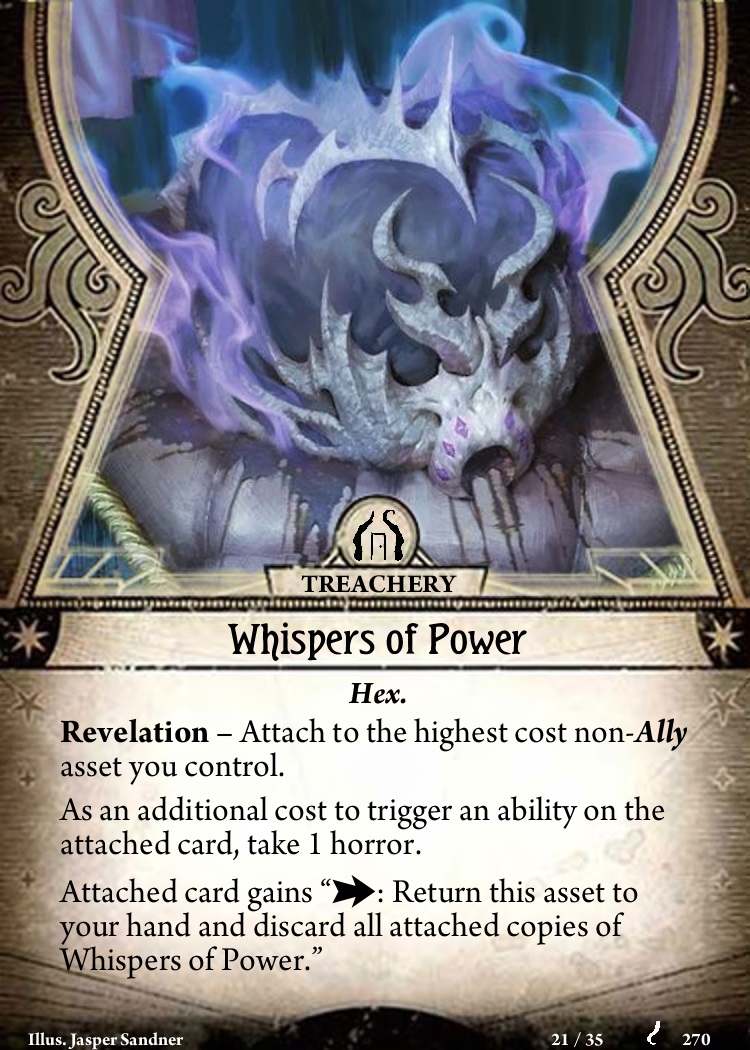
The second of the asset-based optional locations, Miriam Beecher is likewise easy to defend if you're running an expensive asset, and there's plenty of weapons that can help fit that bill. Her asset meanwhile is a lot more niche - you'll need something you really want to keep refreshing charges on for it to be worthwhile. Whispers of Power's threat really depends on what assets you're using - if you have expensive ones it can be devastating, especially on a character without good horror soak to begin with - a typical guardian really needs to watch out.
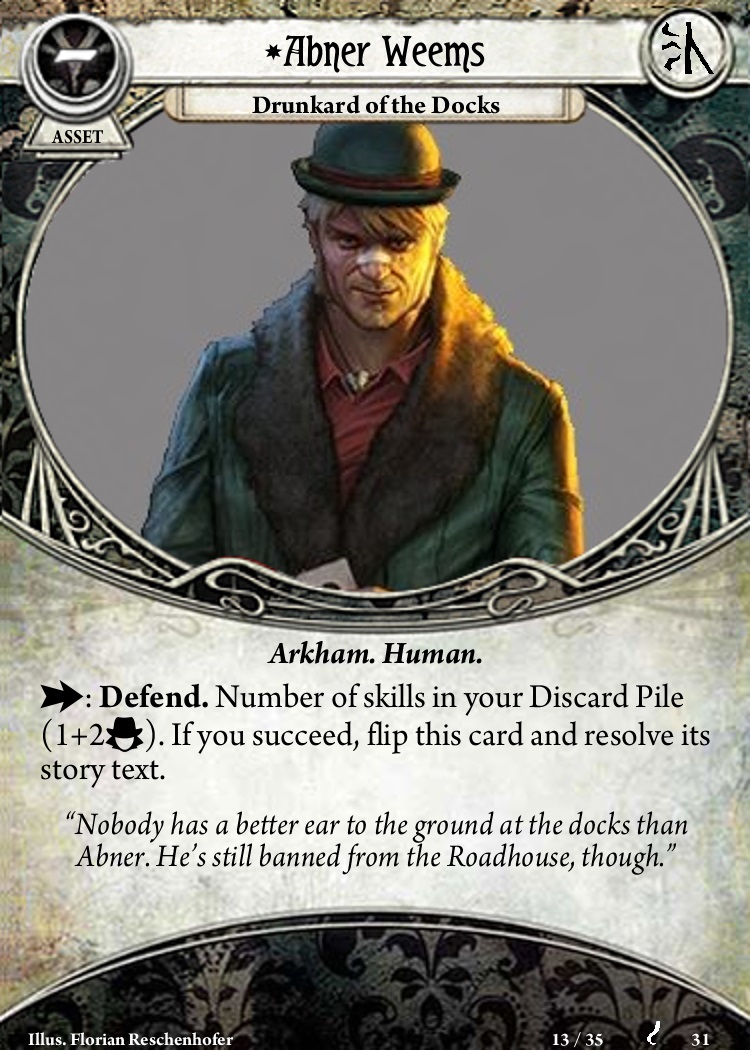
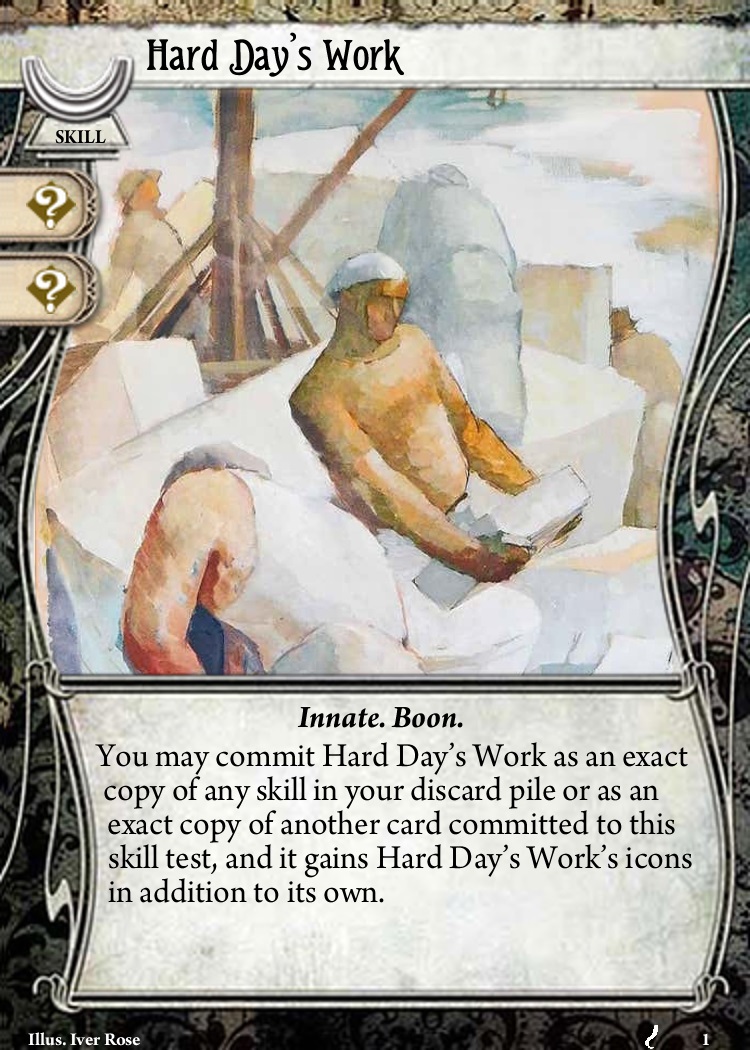
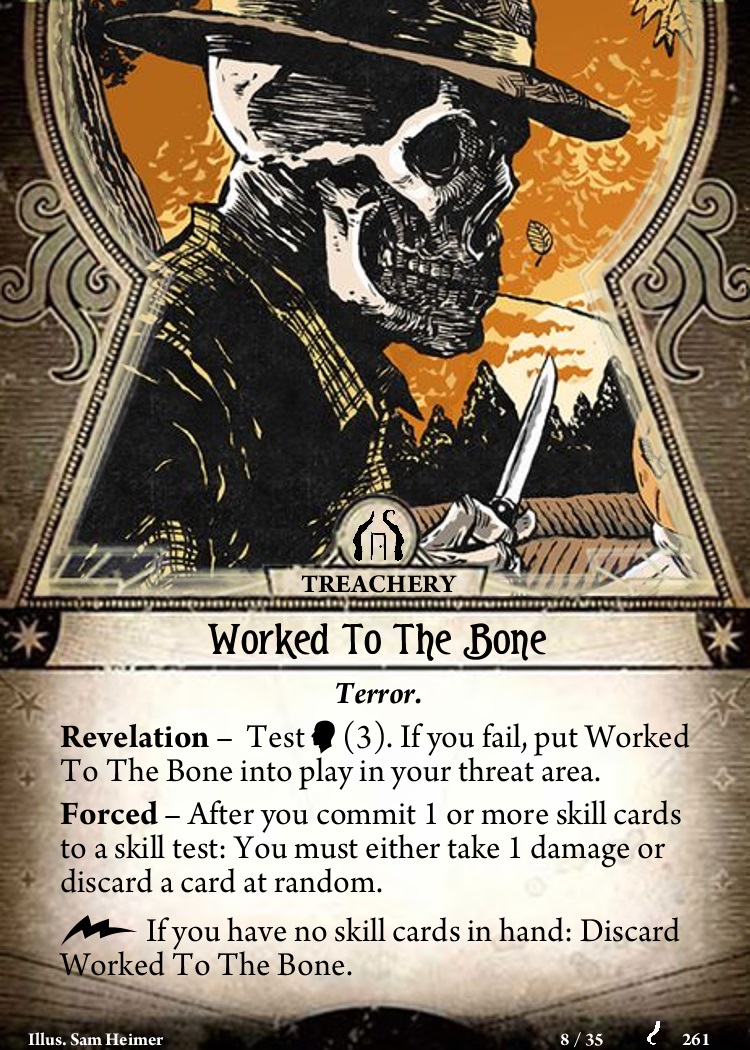
Abner represents the docks, which is all about skills. Having a bunch of skills in the discard isn't too hard to do just through the normal process of the game, so unless the docks are threatened early, he's on the easier side to defend. The benefit of Hard Day's Work is going to depend on how much XP you're spending toward skills - doubling up on a leveled up Deduction, Vicious Blow, or Momentum (with extra icons!) is great, but if you're not spending the XP there, it's likely not going to be as impressive. Worked to the Bone's threateningness is again really going to depend on your deck - if you know it's in the encounter deck, playing your skills early can help defend against it.
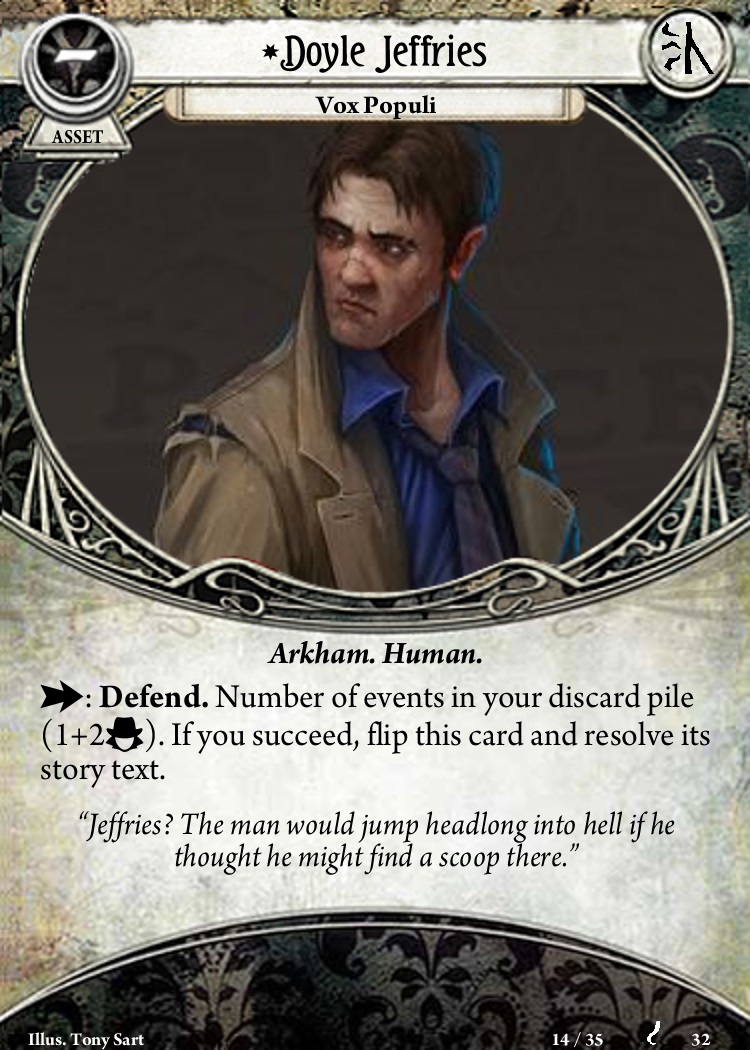
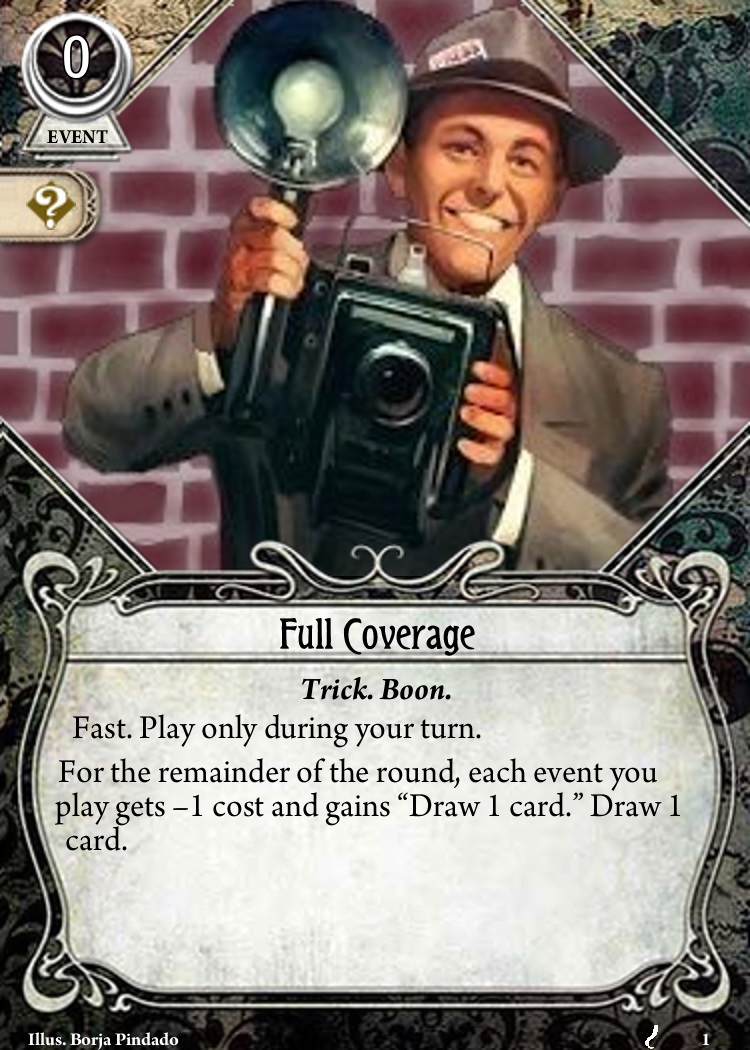

If you don't want to focus on skills, your other option is events with Doyle Jeffries and the newspaper. Events are a bit trickier to have a lot of, but even just economy events played can help get your defend value up. Full Coverage is a weird combo piece and maybe the most niche of all the rewards - for a lot of characters, it just won't do anything, and for those who can use it, it's a pile of free cards and resouces. Bad News is likely one of the softer encounter cards unless you're planning on storing up a lot of events.
More on Call of the Plaguebearer:
Call of the Plaguebearer: Spoiler-Light Review